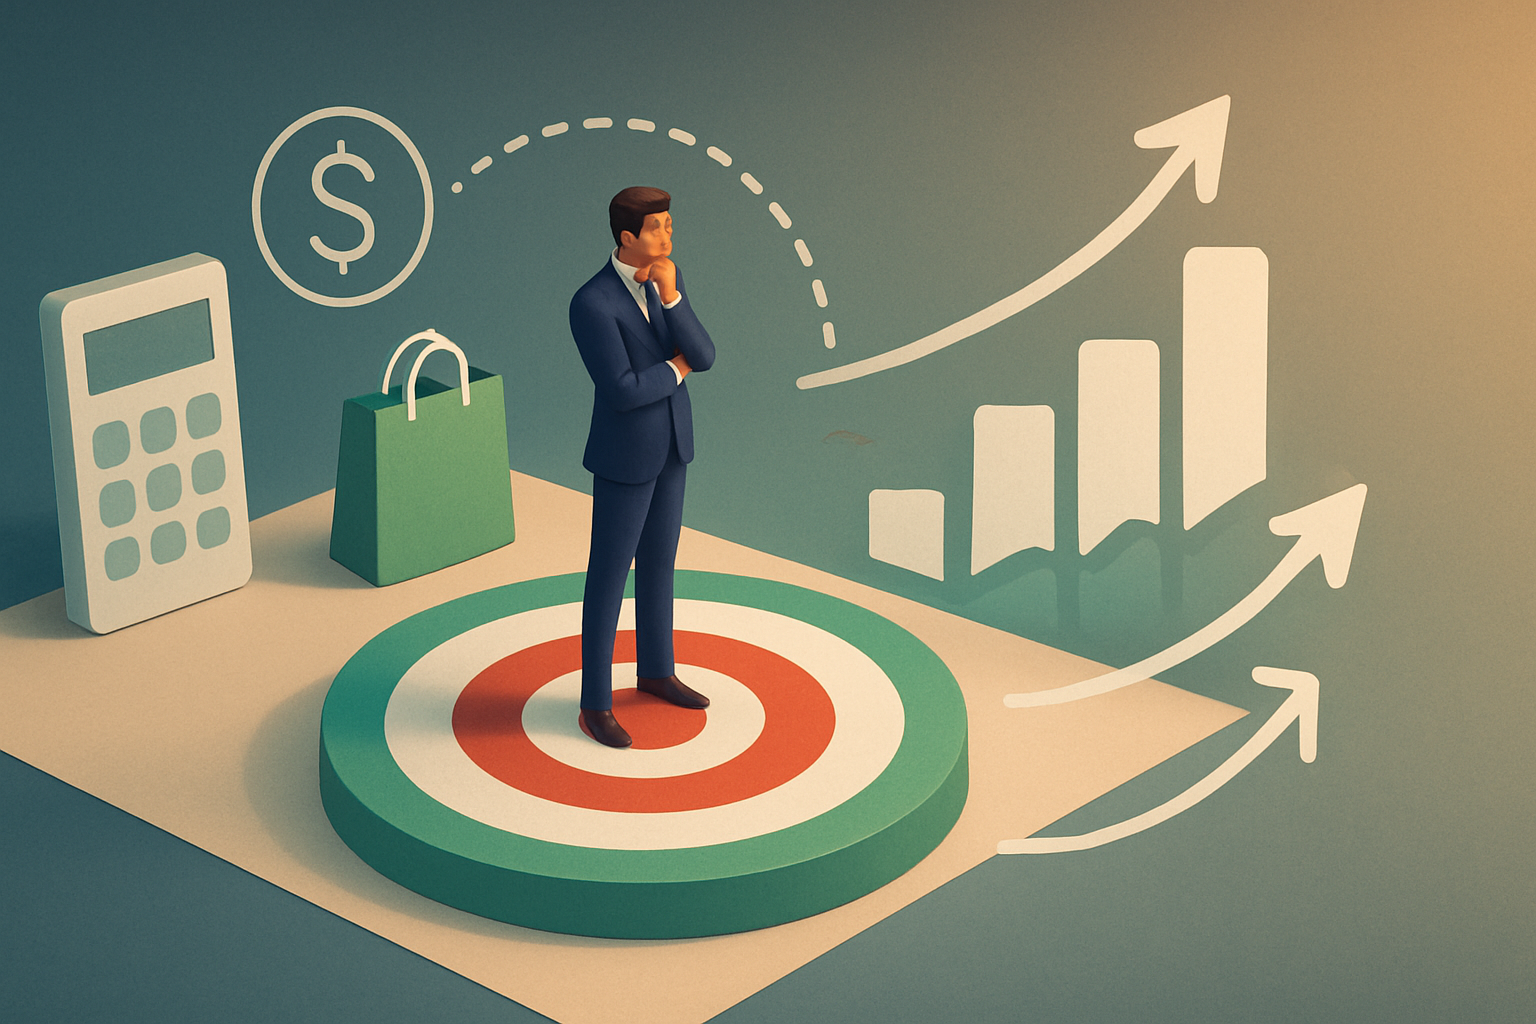
When a product drops, the conversion window is short and the noise is high. The difference between a muted launch and a breakout one is rarely the product itself — it’s the timing and cohesion of your content. This guide gives Shopify store owners and content teams a practical blueprint to sync product launches with a unified WordPress blog and social calendar, using Trafficontent features to automate scheduling, preserve SEO intent, and free your team for creative work. ⏱️ 10-min read
Read on for a step-by-step workflow: from locking launch dates and building a centralized calendar to AI-driven keyword ideation, automated publishing, and governance playbooks. Each section includes concrete examples and configuration tips so you can implement a pilot launch in days, not weeks.
Aligning the Launch Calendar with Your Content Calendar
Start by setting the launch date — treat that as the immovable anchor. Work backward to determine editorial deadlines, imagery handoffs, asset reviews, and final approvals. A disciplined backward plan prevents last-minute scrambles and makes cross-channel coordination predictable.
Concrete timeline example for a single SKU launch:
- Launch date (D): Product live on Shopify and featured on homepage.
- D–14: Blog draft completed and SEO checklist run.
- D–10: Hero photography and product video delivered; creative approved.
- D–7: Internal QA and legal/brand sign-off.
- D–3: Final revisions, prepare email build and social assets.
- D–1: Rehearsal publish to staging (if used); schedule automated sends.
Use a visual cross-channel map that shows blog posts, social posts, emails, homepage banners, and paid promos with assigned owners and decision windows. Trafficontent’s Smart Scheduler and Blog Automation tools can tie those dates into automated reminders and publish windows — so the blog post and social teasers execute without manual last-minute posting. Add 2–5 day buffers around the critical milestones and create a clear rollback plan (for example: if the hero image isn’t approved by D–7, swap to a secondary image and postpone an email by 24 hours). This kind of proactive contingency reduces stress and keeps the narrative clean across channels.
Build a Centralized Content Calendar Template
Your calendar has to be the single source of truth for everyone — product, marketing, creative, and legal. Choose one platform (Sheets, Notion, Asana, or Trafficontent’s calendar) and stick with a standard row format so every launch follows the same process.
Essential fields for each calendar row:
- Publish date & time (with timezone)
- Channels (blog, email, Instagram, TikTok, paid)
- Content type (launch post, how-to, product roundup)
- Primary/secondary keywords
- Linked product(s) / SKU
- Owner (Responsible) and Approver (Accountable)
- Status (Idea, Draft, Review, Approved, Scheduled, Published)
- Asset links (images, video, copy doc)
- Notes: UTM campaign, target audience, locale
Include examples within the template to remove ambiguity: for publish time, show a format such as “2025-06-10 09:00 America/Los_Angeles”; for status, offer a dropdown list. Set permissions so only designated editors can change publish windows and require comments for any date edits. Version history and change logs are critical — they allow you to roll back to a previous draft or restore asset links when a last-minute change happens.
Guardrails prevent overlaps. Add a tag field for topic clusters (e.g., “outerwear – insulation”) to ensure two posts don’t compete for the same keywords that week. With this template, a launch post moves predictably from idea to live, while automation (Trafficontent reminders and scheduling) cuts down coordination work.
SEO-Driven Topic Ideation for Shopify Product Pages and Blog Posts
Ideation starts with the product. Export your upcoming SKUs and collections and build a keyword matrix tied to each item: product names, materials, use cases, and category-level queries. Use AI-assisted keyword tools to surface long-tail queries and to approximate search intent and difficulty — then map those keywords to content types and funnel stages.
Example cluster for a new insulated jacket:
- Awareness: “best insulated jackets for winter hiking” — long-form guide
- Consideration: “insulated jacket vs puffer: which is warmer” — comparison post
- Purchase: “buy [brand] insulated jacket online” — launch post linking to PDP
Map keywords to content roles:
- Awareness content educates and captures discovery—category guides, how-tos, seasonal lists.
- Consideration content compares and answers objections—feature comparisons, compatibility notes.
- Purchase content drives conversions—product pages, promotional posts, bundles.
Run a content gap analysis: crawl current site pages and compare them to your keyword matrix to find missing topics or weak internal linking. Plan to use blog posts as supporting pages that funnel readers to product PDPs via descriptive anchor text — for instance, link the phrase “lightweight insulated jacket” to the SKU’s PDP. This strengthens topical relevance and helps product pages rank soon after launch.
Finally, prioritize keywords by opportunity: search volume, launch relevance, and how well a blog post can answer the search intent. When you tie ideation directly to SKU launches, your content calendar becomes a demand-building tool rather than a random stream of posts.
Integrating Trafficontent for Auto-Publishing and Scheduling
Trafficontent is the glue that automates publish windows across Shopify, WordPress, and social platforms. The basic flow you want is: product creation or launch date triggers a scheduled content pipeline that publishes the blog post, updates product blocks, and queues social and email promos in the right timezone.
How to set up the flow:
- Connect your Shopify store and WordPress site to Trafficontent and authorize permission scopes for posts and product blocks.
- Create a launch template with placeholders for product title, price, hero image, and CTA; map those fields to the corresponding product attributes in Shopify.
- Define triggers: either a specific product publish date in Shopify or a calendar entry in your Trafficontent schedule.
- Use Smart Scheduler to set channel-specific windows and locale rules (time zones, no-post days, language variants).
- Enable SEO Workflow Automation to auto-populate meta tags and schema based on mapped product fields and primary keywords.
Smart Scheduler handles nuances like posting times by region (so a U.S. launch hits morning traffic without waking EMEA customers at odd hours) and channel windows (social teasers, launch announcement, follow-ups). When properly configured, Trafficontent reduces manual steps: the blog post goes live with the right meta tags, social teasers queue automatically, and newsletters can be scheduled to align with product availability.
Real-world benefit: a mid-size outdoor brand used this setup to auto-publish a launch post that included a product block and schema markup. Traffic increased to the drop pages, and the social team spent hours less on scheduling — time that went into community engagement instead.
SEO-Optimized Blog Post Templates for WordPress and Shopify
Templates keep quality consistent and significantly speed up publishing. Build a standard SEO scaffold you reuse for launch posts, how-to articles, and comparison pieces so each post follows the same optimization checklist.
Core template elements:
- Title tag: include the target keyword and brand where natural (60–65 characters).
- Meta description: 150–160 characters with a clear value proposition and CTA.
- Slug: short, keyword-focused, URL-safe.
- H1: mirrors title but can be slightly different for readability.
- Intro: 40–70 words that answer intent and include the primary keyword.
- H2 sections: benefits, use cases, and top features.
- H3/H4: specs, sizing tables, compatibility notes, and FAQs.
- CTAs: near the top and mid-article linking to PDPs or promotion pages.
- Schema: Article, BreadcrumbList, and Product where applicable.
Practical SEO tips for each post:
- Embed Product schema with price, availability, and SKU to help rich results; use JSON-LD.
- Link to product PDPs with descriptive anchor text (e.g., “shop the [product name] insulated jacket”).
- Place one primary keyword in the first 100 words and use 2–3 secondary keywords naturally across H2s.
- Include a short FAQ at the end with question anchors that map to long-tail queries.
For Shopify, create or update a product block in the blog post so readers land on a product card with price and add-to-cart. For WordPress, ensure your SEO plugins pick up the template fields so title tags, meta descriptions, and schema are injected automatically. Templates reduce review cycles and — when combined with Trafficontent’s SEO Workflow Automation — can set meta tags and structured data programmatically to speed launches.
Social Media and Promotion Timing
Social is the amplifier for your launch narrative, but it needs choreography. Define a channel-specific cadence that builds awareness, amplifies launch day, and sustains momentum without burning out your followers.
Recommended windows by platform (example cadence):
- TikTok: teasers 3–5 days pre-launch, full reveal on launch day, 1–2 follow-ups in 48 hours.
- Instagram (Feed & Reels): teasers 4–7 days pre-launch, launch Reel, Stories daily through the week.
- Facebook: 4–6 day lead, launch post, and 1–2 reminders during the first week.
- Twitter/X: 1–3 days of micro-teasers, multiple kickoff posts on launch day, recap within 24–48 hours.
Repurpose assets smartly. A 20–30 second product demo is a single source file that can be trimmed for TikTok, used as an Instagram Reel, and clipped into Stories. Static hero images can become carousel slides or ad creative. Store captions and approved assets in the calendar row so social copy remains in sync with blog messaging and offers.
Use Trafficontent’s Smart Scheduler and Social Media Automation to queue these echoes at precise times. Track early social feedback as a signal: if a teaser receives disproportionate engagement, increase organic and paid amplification around that creative. Keep a list of repurpose rules (trim timecodes, preferred aspect ratios, and caption length) and include those in your template to reduce back-and-forth with creative.
Measuring Success: KPIs and Iteration
Measure quickly and iterate. A small, focused dashboard captures performance signals and tells you whether a launch’s content strategy worked. Combine web analytics (GA4), Shopify conversion data, and Trafficontent scheduling logs.
Primary KPIs to track:
- Organic sessions to launch posts (week over week)
- Product page visits attributed to blog traffic
- Conversion rate from blog to PDP to checkout
- Keyword ranking improvements for target terms
- Engagement: time on page, scroll depth, comments/shares
- Revenue lift during the promotion window
Attribution and UTMs:
- Use a standardized UTM schema: utm_source=blog, utm_medium=post, utm_campaign=spring_launch, utm_content=[topic_variant]
- Set an attribution window (7–14 days post-publish) to capture delayed conversions.
- Document tagging rules in a shared guide and test with a pilot launch to ensure GA4 and Shopify attribute correctly.
Set practical thresholds to trigger a post-mortem: for example, if organic traffic is <85% of forecast or conversion rate drops by >1.5 points, schedule a rapid review. Run quarterly reviews to summarize what works (top keywords, post types, promotional mixes) and create a one-page snapshot for stakeholders. Use these insights to refine deadlines, templates, and topic prioritization on the next cycle.
Roles, Governance, and Automation Best Practices
Automation scales — but governance preserves quality. Apply a simple RACI model to every launch asset so responsibilities are clear and approvals move fast.
Suggested RACI for a launch post:
- Responsible: Content writer/producer (creates the draft)
- Accountable: Editor or content lead (final sign-off)
- Consulted: Product marketing, design, legal (subject-matter checks)
- Informed: Social team, customer support, merchandising
Editorial gates should be explicit: Draft → SEO check → Internal QA (design and accessibility) → Legal/Brand → Final approval. Set SLAs for each gate (for example, two business days for draft feedback and one day for final sign-off) and enforce them in the calendar so no one becomes an accidental bottleneck.
Maintain an audit trail. Use CMS revision history or a tool’s change logs to record who approved what and when; keep this attached to the calendar row. Create automation playbooks for reminders and asset delivery — for instance, a triggered task that pings design if the hero image link is missing by D–12. But maintain human checkpoints for creative and legal reviews: automation should speed steps, not replace judgment.
Finally, keep a short SOP repository (one-pagers): publishing checklist, UTM rules, SEO checklist, rollback procedure. These reduce decision friction and make it easier to run a clean, repeatable launch cadence across the year.
Next step: pick your next product drop, lock the date, and create a calendar row with the fields above. Run a pilot by connecting that row to Trafficontent’s Smart Scheduler and Blog Automation to auto-publish one blog post and queue social teasers — measure the results, refine the template, and scale the workflow to the rest of your launches.