As someone who regularly creates and measures content for Shopify stores, I know firsthand that a blog is more than a brand voice — it's a sales channel. But to justify time and budget you need more than impressions and shares: you need to measure ROI. In this article I walk through simple, practical ways to attribute revenue to blog content, calculate true ROI, and improve results over time using Shopify and common analytics tools.
Why measuring blog ROI matters
Many merchants track pageviews and social engagement and assume that equals success. In my experience, those metrics only hint at value. Measuring revenue-attributed to blog content lets you decide which topics, formats, and distribution methods deserve investment and which should be retired. It also guides how to price content production, whether to outsource, and how much to spend on promotion.
Core metrics to track
Before you calculate ROI, collect the right signals. I always track a combination of behavior and revenue metrics:
- Sessions and users (from blog pages)
- Engagement: time on page, scroll depth, and CTR to product pages or collection pages
- Direct conversions: orders where the session started on a blog post or where the last click was the blog post URL
- Assisted conversions: orders where blog content contributed earlier in the customer journey
- Average Order Value (AOV) and Customer Lifetime Value (CLV) for customers originating from blog traffic
- Cost of content: creation, editing, images, SEO, promotion (ads, influencer fees, email blasts)
How I measure ROI step-by-step
Here’s the process I use on Shopify stores. It’s practical and works with both Shopify’s native reports and Google Analytics (GA4).
- Tag and track — add UTM parameters to links you place in promotion channels (email, social ads). For internal blog links, make sure product links are tracked by your analytics tool. I use UTM campaign=blog and content=post-slug when promoting posts.
- Identify blog landing sessions — in GA4 or Shopify, create a segment where landing page path contains /blogs/ or your blog slug. This isolates sessions that started with a blog post.
- Measure direct revenue — attribute orders where the last non-direct click was the blog session, or where the session landed on a blog post and converted during that session. Shopify’s Admin > Analytics > Reports (Sales attributed by referrer or by landing page) can help, but GA4 gives stronger multi-touch insights.
- Measure assisted revenue — use the Assisted Conversions report in Google Analytics (or multi-touch models) to capture purchases influenced by blog content earlier in the journey. I often hybridize: count full revenue for last-click and a percentage for assisted touchpoints.
- Allocate costs — sum up your monthly content costs: writer fees, photography, editing, SEO, and promotion spend attributable to the blog. If content is one-time but long-living, amortize creation cost over a reasonable period (e.g., 12 months).
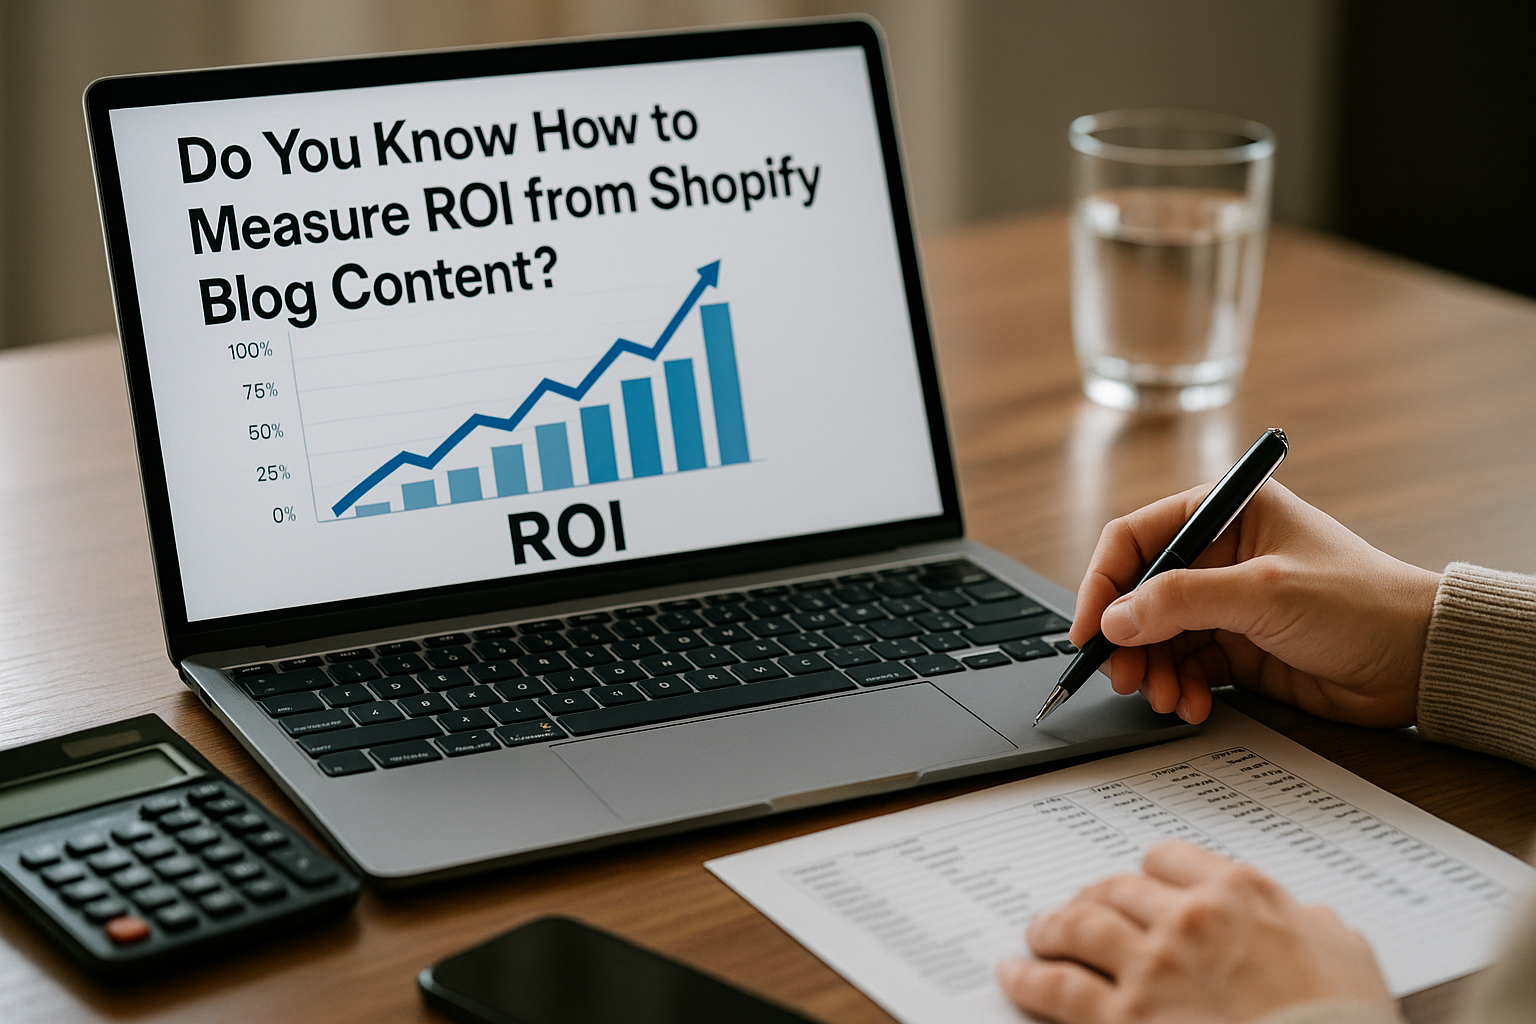
- Calculate ROI — use a clear formula. A common one I use is: ROI (%) = ((Revenue attributed to blog − Cost of blog content) / Cost of blog content) × 100.
Example: If blog-driven revenue last month was $6,000 and total content cost (creation + promotion amortized) was $2,000, then ROI = ((6000 − 2000) / 2000) × 100 = 200%.
Tips for accurate attribution
Attribution can be messy. Here are practical fixes I apply:
- Use UTM parameters on all outbound promotion links so GA4 / Shopify can consistently identify blog-sourced traffic.
- Set up e-commerce tracking in GA4 and ensure Shopify checkout pages are tagged so revenue flows into your analytics.
- Combine last-click and multi-touch — treat last-click as a conservative baseline and then evaluate assisted conversions to understand influence across the funnel.
- Amortize long-lived content — pillar posts that drive traffic for years should have their creation cost spread across months to avoid skewed monthly ROI.
How I improve content ROI
Measuring ROI is only useful if you act on it. After identifying top and low performers I do the following:
- Repurpose high-performing posts into product pages, emails, or paid campaigns.
- Update older posts with newer products, internal links, and fresh CTAs to increase conversion rate.
- Run A/B tests on CTAs within posts (button text, placement, and offers) and measure uplift in blog-to-product CTR and conversion.
- Optimize for intent — focus content on buyer-stage queries that naturally lead to conversions (vs. purely informational queries with low purchase intent).
Common pitfalls to avoid
From my experience working with stores, these mistakes often lead to misleading ROI:
- Counting only first-click sessions and ignoring assisted revenue — underestimates blog influence.
- Not tracking internal clicks — failing to measure how blog content moves users to product pages.
- Mixing brand campaigns with blog promotion UTM tags — causing misattribution.
- Short amortization windows for evergreen content — inflates monthly cost and deflates long-term ROI.
Quick checklist to get started this week
If you want a fast implementation, here’s my recommended checklist:
- Enable GA4 e-commerce and connect to Shopify
- Audit blog links and add UTM parameters for active promotions
- Create a blog-landing-page segment in GA4
- Pull last-click revenue and assisted conversion reports for the last 90 days
- Sum monthly content and promotion costs and compute ROI using the formula above
Measuring ROI on Shopify blog content is a mix of good tracking, sensible attribution, and consistent action. Start with clear tagging, track both direct and assisted revenue, and apply a reasonable cost model. I’ve used this approach across multiple stores to identify winning topics, justify content budgets, and grow revenue without guessing. If you want, I can help you set up the exact GA4 segment and UTM structure tailored to your Shopify site — tell me your CMS structure and promotion channels and I’ll draft the tracking plan.