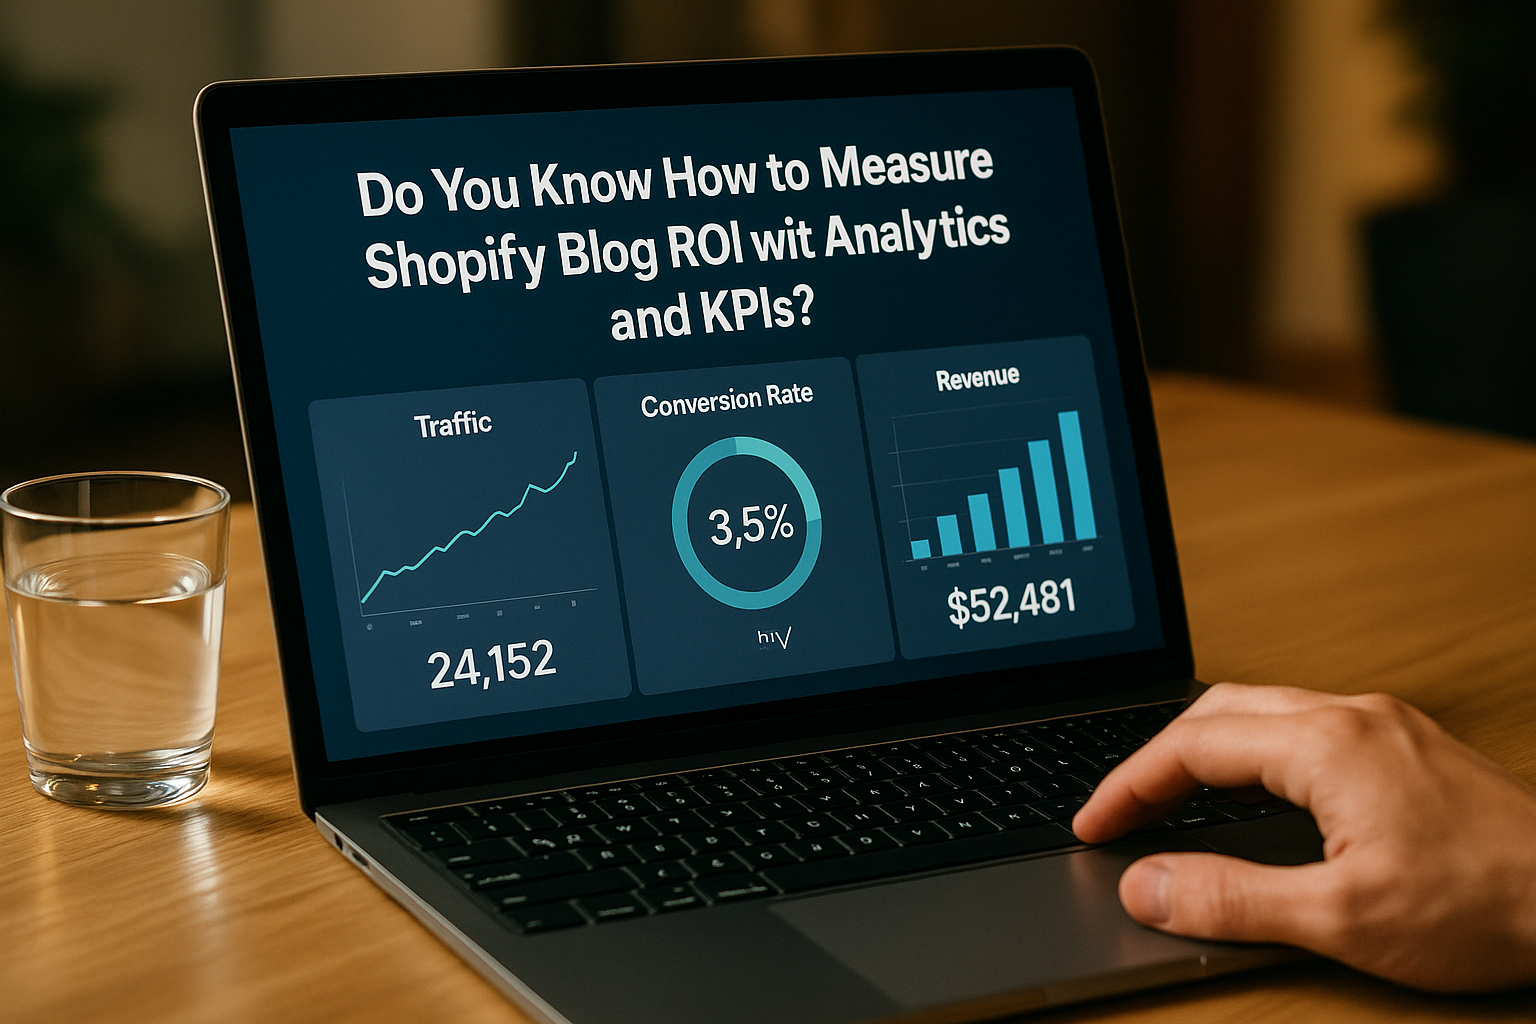
I’ve used Shopify blogs to drive traffic and sales for multiple stores, and I know the difference between a blog that looks nice and a blog that actually contributes to the bottom line. Measuring Shopify blog ROI requires more than counting pageviews — you need proper tracking, clear KPIs, and the right attribution so you can tie content to revenue. Below I’ll walk you through pragmatic steps, the metrics to focus on, how to attribute value to content, and an example ROI calculation you can copy.
Start with clear goals and the right tracking
Before you calculate ROI, decide what the blog is meant to achieve: organic traffic growth, email list building, product discovery, or direct sales. From my experience, you should set up these tracking basics: connect GA4 to your Shopify store (or use Shopify’s native analytics as a supplement), enable enhanced ecommerce, configure UTM tags on promotional links, and track content-related events (newsletter signups, add-to-carts from blog, button clicks) via Google Tag Manager or a tag solution. Also link Google Search Console to monitor organic performance.
Key metrics and KPIs to measure
Focus on a mix of traffic, engagement, and conversion KPIs that can be tied to revenue. Important KPIs I track include:
- Sessions & Users (by landing page) — overall reach of a blog post.
- Organic sessions — SEO performance of posts over time.
- Engaged sessions / Average time on page / Scroll depth — how well the content holds attention.
- Conversion rate (blog visitors → customers) — percentage of blog visitors that purchase.
- Leads / Email signups — direct value if you monetize your list.
- Add-to-cart rate from blog — measures product interest triggered by content.
- Revenue from blog-driven sessions — the critical revenue metric.
- Assisted conversions / Assisted revenue — attribution of blog posts that aided later purchases.
- Revenue per session (RPS) — revenue divided by sessions originating on blog pages.
Attribution: how to tie blog traffic to revenue
Attribution is the toughest part. Common approaches:
- Last-click attribution: easiest — credit the last touch (e.g., a product page or ad). This often undervalues blog content.
- Multi-touch attribution: distribute credit across the funnel (first touch / assisted touch). More accurate but requires more setup or a data-driven model.
- Path-based tagging: capture user paths where a blog session precedes a purchase within X days and assign partial credit to the blog.
In practice I use two numbers: direct blog-attributed revenue (sessions that start on a blog and end in purchase) and assisted blog revenue (purchases where the blog was a touch earlier in the path). Combining both gives a fuller picture.
Calculating ROI — formula and worked example
The basic ROI formula is:
ROI = (Revenue from blog − Cost of blog) / Cost of blog
Cost of blog includes writer fees, photographer/designer, promotion spend, tools, and an allocated portion of staff time. Example (30-day window):
- Direct revenue from blog sessions: $4,000
- Assisted revenue attributed to blog (partial credit): $2,000
- Total blog-attributed revenue = $6,000
- Monthly blog cost (content + promotion + tools) = $1,800
- ROI = (6,000 − 1,800) / 1,800 = 2.33 → 233% ROI
Also track ROI by post, category, and campaign. If your blog drives email signups, you can assign a monetary value per lead (based on LTV or conversion rates) and add that into the revenue side.
Dashboard and reporting — what I include
My practical dashboard contains: sessions by landing page, organic CTR from Search Console, average time on page, email signups per post, add-to-cart rate from blog visitors, revenue by landing page, and assisted revenue over 30/60/90-day windows. Filter everything by channel and UTM to test promotional strategies.
Tips to improve blog ROI quickly
From experience, these moves get results:
- Optimize CTAs: add clear product links, bundle suggestions, and inline add-to-cart buttons.
- Use UTM tags for all internal and external promotions so you don’t lose attribution.
- Repurpose high-performing posts into email sequences and social ads to increase conversion opportunities.
- Test content-to-product pairing: link posts to relevant collections and measure conversion lift.
- Prioritize posts with high organic intent and improve on-page SEO to boost traffic without extra ad spend.
Final checklist to start measuring ROI
Make sure you have these in place:
- GA4 (or analytics) connected and ecommerce tracking enabled
- UTM conventions and consistent tagging
- Event tracking for signups, clicks, and add-to-cart from blog pages
- Reporting that shows direct and assisted blog revenue
- Cost tracking for all blog-related expenses
Measuring Shopify blog ROI is perfectly achievable if you combine solid tracking, clear KPIs, and sensible attribution. I recommend starting with direct revenue + assisted revenue, standardizing costs, and iterating: test CTAs, optimize SEO, and measure the change in KPIs over time. If you want, I can outline a GA4 event plan or a UTM naming convention tailored to your store.