If you run a WordPress blog and your publishing schedule looks like a squirrel on espresso, this article is for you. I’ve helped small teams and solo bloggers move from chaotic “publish when inspiration strikes” to a calm, reliable cadence that actually builds traffic. No jargon, no complicated enterprise software – just a pragmatic calendar-driven workflow you can implement this week. ⏱️ 10-min read
Read on and I’ll walk you through choosing the right calendar framework, building topic clusters that score in search, a lean workflow from idea to publish, ready-to-use templates and checklists, automation for promotion, the WordPress setup that supports it, and how to measure and scale. Think of it as a playbook you can plug into your site and start using immediately — like installing a coffee machine for your content machine. (Yes, caffeine metaphors ahead.)
Why an Editorial Calendar Makes WordPress Publishing Consistent
An editorial calendar turns publishing from a frantic relay race into a predictable rhythm. When dates, owners, and statuses live in one place, the “Who’s writing this?” and “When does it go live?” emails vanish like your diet on cheat day. I’ve seen teams stop posting for weeks because no one knew who owned the draft — a calendar solves that by being the single source of truth.
Consistency matters for three big reasons: SEO, audience habit, and team sanity. Search engines reward regular activity and clearer internal linking; readers come back when they know you publish reliably; and your team stops burning out because workloads become visible and plannable. A calendar also aligns topics with business goals (lead gen, product launches, support docs) so you won’t be randomly writing about “10 cat memes for WP” the week you wanted to promote a new plugin. Yes, I’ve seen that happen — I call it content whiplash.
In practice, a calendar reduces last-minute scrambling by making dependencies explicit (images, approvals, promotion assets). It lets you forecast capacity — for example, knowing you need two editors available every Tuesday makes resourcing less of a guessing game and more of a predictable schedule. In short: less chaos, more momentum — and your readers will notice. It’s like turning your blog from an unpredictable garage band into a steady, well-rehearsed set.
Choosing a WordPress Calendar Framework
Pick a calendar based on team size and how much automation you want. For solo bloggers or tiny teams, simplicity wins: plugins such as Editorial Calendar or PublishPress provide a clean drag-and-drop view and integrate into the WordPress dashboard without bloating your site. They give you dates, statuses, and a visual layout — like a whiteboard without the marker ghosts.
If you’re a slightly larger crew or need approvals and task management, consider CoSchedule or a more robust planning suite that supports editorial workflows, assignments, and two-way syncing with Google Calendar. Look for these must-haves: native WP admin view, drag-and-drop scheduling, post status integration, and connectors to Slack or Asana to avoid reinventing the wheel. The less you have to manually copy dates between tools, the less likely someone will post an “edited” version as “new” on accident.
Decide your automation level: manual (you move things and publish), semi-automated (calendar schedules posts, humans approve), or fully automated (calendar triggers publishing and social distribution). Tools like Trafficontent can fit into the latter two, handling autopilot publishing and cross-channel distribution if you want to skip the repetitive parts. For beginners I recommend starting with a lightweight plugin that lives in your WP admin and adding automation later — it’s easier to scale when the foundation isn’t a house of cards.
From Goals to Topics: Build Topic Clusters for WordPress
Start by mapping business goals to reader needs. Ask: what outcome do we want (traffic, leads, conversions) and which questions do potential readers ask at each stage of their journey? From that, pick 3–5 core pillars — topics you can defend long-term. For a WordPress-focused blog those might be “Site Speed,” “Security,” “SEO,” “E-commerce with WordPress,” and “Theme & Plugin Development.”
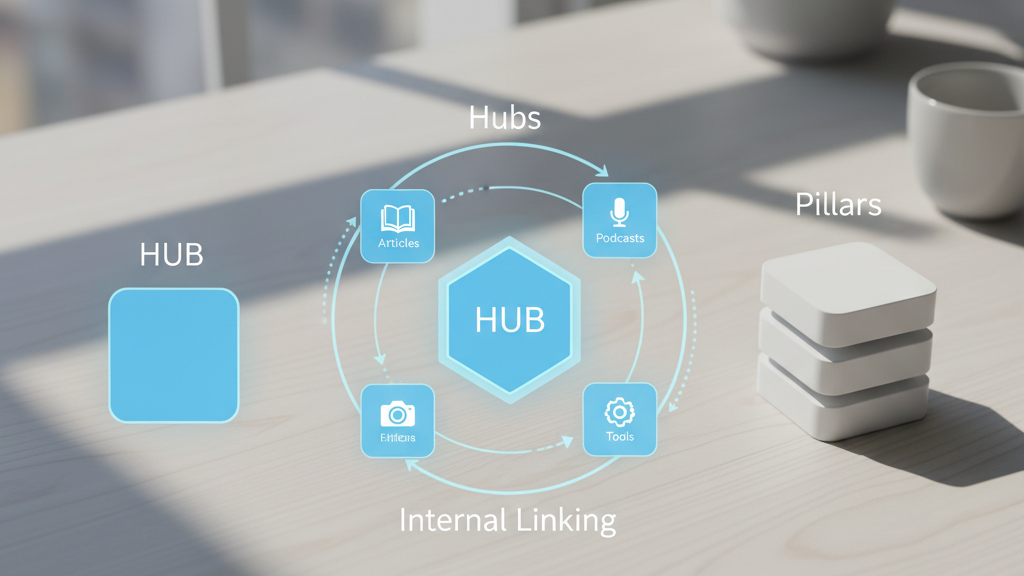
Create one comprehensive pillar page per topic: an evergreen guide that answers the major questions, demonstrates authority, and links to supporting posts. Then plan 4–6 supporting articles per pillar — tutorials, checklists, case studies, and troubleshooting posts that tie back to the pillar with deliberate internal links. Think of the pillar as the hub and supporting posts as spokes. This internal-link architecture sends clear topical signals to search engines and helps users navigate deeper without getting lost in the blog equivalent of IKEA.
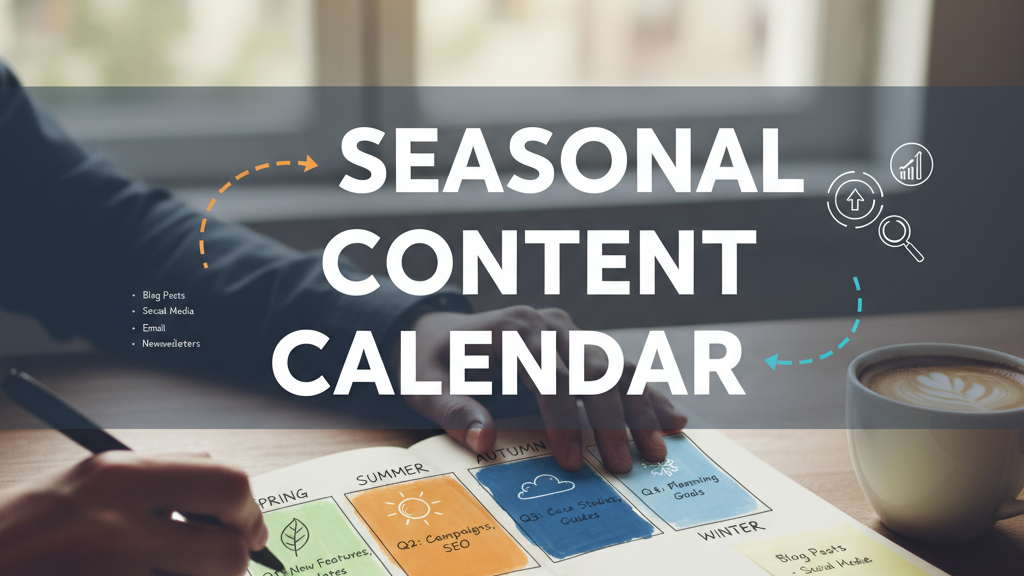
Practical cadence example: publish one pillar every quarter with a steady drip of supporting posts (one per week) around it. That’s manageable and gives you both depth and freshness. Use keyword intent to plan format: “how to speed up WordPress” might be a long-form tutorial, while “best image formats for web” could be a quick checklist. I like to define the pillar first, then schedule supporting posts into the calendar so every slot has a purpose — no more “throw something up because we need one more post.”
Designing a Lean Content Workflow from Idea to Publish
Keep the workflow simple and repeatable: Idea → Validate → Outline → Draft → Edit/Optimize → Schedule → Publish/Promote. That sounds obvious, but the magic is in the details: assign an owner, a due date, and a status at each step so nothing stalls in limbo. I recommend using custom post statuses in WordPress (Idea, In Review, Ready, Scheduled, Published) so your calendar and dashboard always reflect reality — like a traffic signal for your drafts.
- Capture ideas: centralize submissions (a form, Slack channel, or a WP post type). Tag ideas by pillar to make prioritization simple.
- Validate: quick triage — does this serve a pillar, target keyword intent, and match capacity? If not, backlog it.
- Outline & draft: use a light template with headings to reduce writer drift. Assign media needs up front (screenshots, diagrams).
- Edit & optimize: one editor checks accuracy, SEO basics, and internal links. Lock metadata before scheduling.
- Schedule & promote: set the publish time, prepare social messages, and queue promotional assets.
Pro tip: add a two-day buffer between “Ready” and “Scheduled” for final QA and unexpected delays. Treat your calendar like a rehearsal schedule, not a one-night performance — rehearsal prevents flubbed intros and embarrassing typos in front of the audience.
Templates and Checklists: WordPress Content Planning Templates
If you want consistency, templates turn good intentions into repeatable output. I hand teams three templates that save time and reduce argument about “what belongs in a brief.” Use them every time and you’ll stop fixing avoidable problems in the editing pass.
Content brief template (fill before drafting):
- Goal: (e.g., organic traffic, lead capture, product awareness)
- Target audience & stage (awareness/consideration/decision)
- Pillar & subtopic
- Primary keyword & search intent
- One-sentence hook
- Recommended word count, format, and headings
- Required assets (images, screenshots, data)
- Success metrics (page views, signups, backlinks)
Editorial calendar template (monthly view): publish date, status, owner, format, channel, draft link, notes, and dependency column. Color-code format (blog, video, newsletter) so editors spot patterns at a glance — like using traffic lights that don’t judge you for missing a deadline.
Pre-publish checklist (short and sacred): metadata set, H1 and H2s in order, image alt text, internal links to pillar, external links checked, schema set if needed, featured image uploaded, and UTM tags prepared for distribution. Post-publish checklist: share to social channels, add to newsletter queue, monitor first 48-hour traffic, and schedule a refresh for evergreen pieces in 6–12 months.
Automation for Publish and Promotion
Automation shouldn’t make your blog sound robotic; it should remove the boring chores so humans can do the clever parts. Start with scheduled publishing — let WordPress publish your post at the exact time you choose, and use revision locks to prevent accidental edits. Next, automate social distribution: set up pipelines that push new posts to X, LinkedIn, and Pinterest either immediately or at optimized times.
Tools like Trafficontent can handle autopilot publishing and cross-channel distribution, including automatic Open Graph tag generation and UTM tagging for analytics. UTM parameters are non-negotiable if you want to see which channels actually move the needle. Set a consistent UTM scheme (source=twitter, medium=social, campaign={pillar_slug}) and your analytics won’t lie to you.
Also automate SEO basics where possible: canonical tags, meta descriptions (as templates to be edited), and structured data for articles. Use a plugin such as Yoast or Rank Math to generate these so editors don’t forget them when they’re in the middle of a 2 AM caffeine-fueled edit. Finally, feed key metrics to a dashboard so everyone can watch performance without hunting through tools. Automation should feel like a helpful stagehand — lifting the heavy things quietly so the show looks effortless.
WordPress Setup That Supports a Calendar-Driven Workflow
Your hosting, theme, and plugin stack should support speed and clarity, not slow you down. Start with lightweight hosting (managed WordPress hosts or a fast shared host) and a professional free theme that’s Gutenberg-ready. Avoid heavy page builder themes that add load time and complexity — your calendar won’t speed up a sluggish site, and neither will a dozen unneeded plugins.
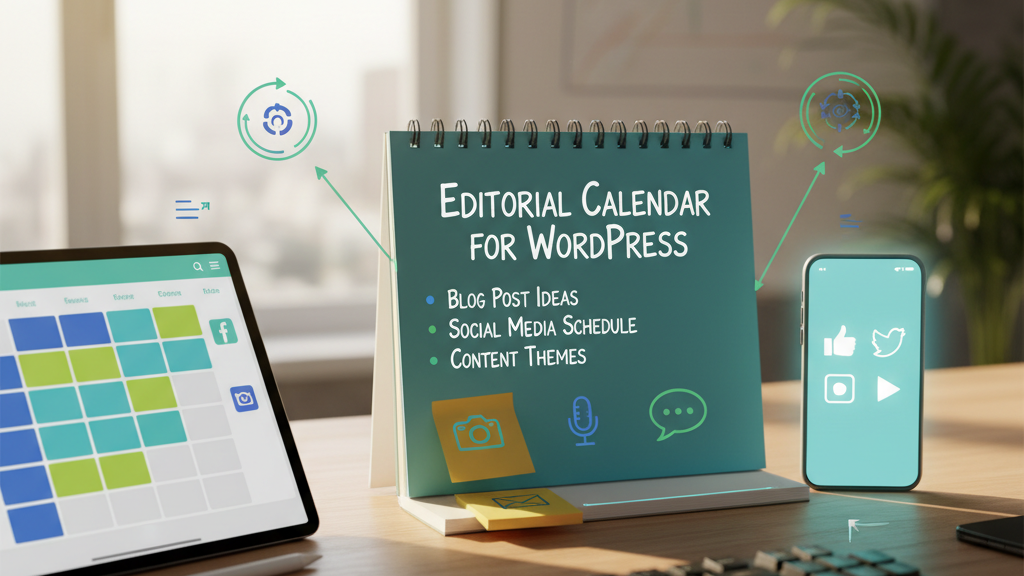
Install core plugins that support your workflow: an editorial calendar plugin (Editorial Calendar or PublishPress), an SEO plugin (Yoast or Rank Math), a caching plugin for speed, and an analytics plugin if you prefer in-dashboard stats. Create custom post statuses for your editorial stages and map roles so writers can save drafts while editors get notified for review. I once watched a team’s productivity jump when they added a single “In Review” status — suddenly there were no mystery drafts collecting dust.
Use Gutenberg templates and block patterns to standardize pillar and supporting posts: recommended headings, CTA blocks, image ratios, and an internal link block with suggested anchor text. That reduces the “how should this look?” problem and gets writers publishing consistent, on-brand content faster. Finally, keep load times high and admin clutter low — the easier it is to access the calendar and draft screens, the more your team will use them instead of complaining about “yet another tool.”
Measure, Optimize, and Scale
Measure what matters per pillar: define success (traffic, organic rankings, conversions) and track cadence adherence, draft-to-publish time, and backlog size. Dashboards that combine Google Analytics or GA4, Google Search Console data, and your editorial calendar KPIs let you connect activity to outcomes. If you want to be fancy, push campaign UTMs into a BI view that ties content to leads or product signups.
Look for three signals after publishing: immediate engagement (first 48 hours), sustained rankings (2–12 weeks), and conversion/assists (longer tail). If a post gets clicks but not time-on-page, rewrite for readability or add better media. If a pillar underperforms, audit internal links and keyword coverage — sometimes a single missing supporting post is the gap that keeps a pillar from ranking.
Run a quick retrospective every 2–4 weeks: what published as planned, what slipped, what performed surprisingly well, and which topics should be refreshed. Use that to adjust your calendar and briefs. When you’re ready to scale, add more automation (promotion sequences, distribution to niche platforms), increase publishing cadence gradually, and expand your pillar library. Small experiments beat big bets: iterate on format, not faith. As I tell teams: test faster than your competition updates their blog’s “About” page.
Next step: pick one pillar, schedule its pillar page in your calendar this month, and map three supporting posts for the following six weeks. That single habit — planning forward and owning dates — will change your publishing game more than any shiny plugin ever will.
References: Editorial Calendar plugin, Yoast SEO, Google Search Console