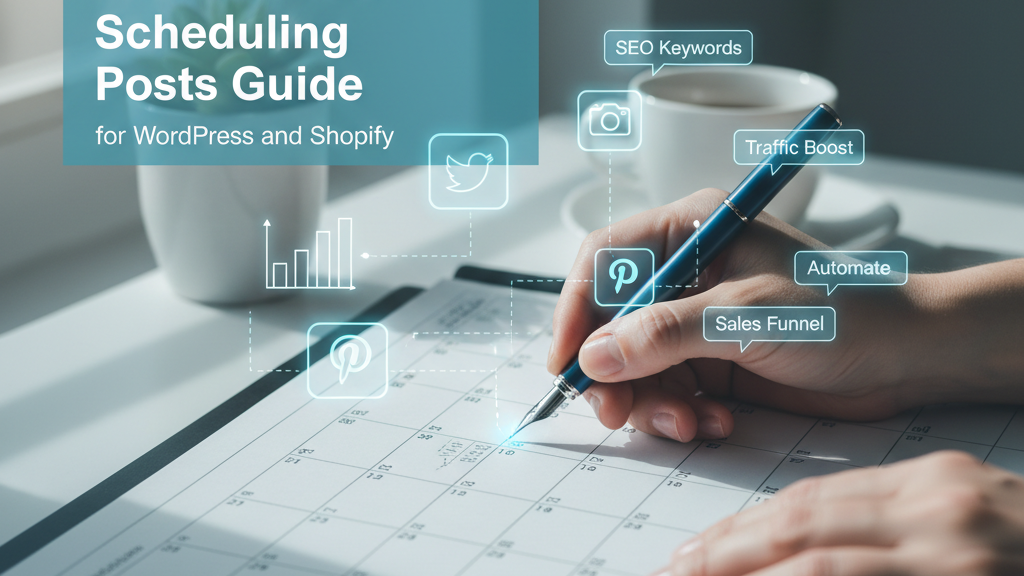
Pick topics that actually move the needle (data-driven ideation)
Don’t write another “10 ways” post because it sounds clever. Start with data: pull your top queries from Google Search Console (last 6–12 months) to see queries that already get impressions. Cross-check those with volume and difficulty in Ahrefs or SEMrush, then run the short list through Google Trends to spot seasonality. On Shopify, scrape the admin search logs and customer FAQs (support tickets and product Q&A) for real buyer language. Those places give you intent, not guesses — which means you’re writing posts that actually answer questions people are typing while they’re still in their wallets. Yes, people type with wallets now. Welcome to 2025. ⏱️ 12-min read
Label each idea evergreen or seasonal, then map it to a conversion goal: “how-to” or tutorial → email capture or lead magnet; product comparison → product page visits and add-to-cart; FAQ/troubleshooting → support deflection and cross-sell. Prioritize with a simple impact-vs-effort matrix and schedule accordingly — use your Auto Scheduler or Auto Blog Poster to queue evergreen staples and time seasonal pieces for peak search windows. Track success with GA4 conversion events and Search Console CTR; if a post drives traffic but no conversions, tweak CTAs before writing the next one. It’s like dating: don’t ghost your readers — guide them toward the thing you actually want them to do.
Build templates and SOPs so AI isn’t flying solo
Turn the “write it for me” button into a reliable assembly line by building repeatable templates and prompt blueprints. Create an article template (headline formulas like “How to [benefit] in [timeframe]”, listicles, or problem→solution pieces), meta templates (SEO title + 150–160 char meta description formula), and social templates (one-line hook, 2–3 supporting bullets, CTA, hashtags). Draft LLM prompt blueprints for Auto Blog Writer that include a short system message, two example outputs, tone rules, and preferred output format (JSON or markdown). Practical tip: wire those templates into Auto SEO and SEO Optimizer PRO for consistent metadata, then pipeline drafts to Auto Blog Poster + Auto Scheduler + Channel Manager so WordPress or Shopify moves from draft to distribution without you babysitting every post.
Don’t trust the autopilot alone — add a simple, fast 2-step human review. Step 1: a content editor checks brand voice, facts, readability, and adherence to the style guide (preferred contractions, US spelling, sentence length, banned words, link policies). Step 2: an SEO/editor checks meta tags, canonical URLs, internal links, schema, and final formatting; they hit “approve” before Auto Blog Poster publishes. Keep the SOPs as checklists inside your CMS or the Auto Blog Writer workspace so the AI gets consistent inputs and the humans stay sane. AI writes better with a co‑pilot — you’re the one who keeps it from becoming a very persuasive hallucination.
Draft with AI — prompts, controls, and fact-checking
Want a usable first draft from Auto Blog Writer or any LLM without babysitting it? Use tight prompts and sensible model settings. Try temperature 0.2–0.4 for factual how-tos (lower = less creative, less hallucination) and 0.5–0.6 when you want personality. Ask for a single section at a time and cap length: “Write ~500–700 words for the section ‘How to set up Shopify blog SEO’, friendly tone, include 3 subheads and a short meta description. Cite sources with URLs.” Another quick prompt: “Produce an H2 + 3 H3s and a 400–600 word draft on ‘organic traffic tips for Shopify stores’. Use plain language, include 5 short actionable steps, then list 3 reputable sources with links.” Tell the model the reading level and SEO keyword once, not ten times. Specify word count or max tokens to avoid epic novellas.
Chunk long posts like a pro: 1) Start with a one-line brief and an outline. 2) Generate each outline item separately (section-by-section) so the model stays focused. 3) After each section, ask the model to extract the factual claims it made and to provide sources for those claims. 4) Quick fact-check: open the top 3 search results for any surprising claim, prefer primary sources (official docs, academic papers, brand pages). 5) If something’s fuzzy, re-prompt the model: “I found conflicting sources X and Y—reconcile and cite the best one.” It’s like asking your friend for directions, then double-checking on Google Maps.
Before you hit autopilot, run a plagiarism and accuracy pass. Good tools: Copyscape, Grammarly’s plagiarism checker, Quetext or Copyleaks for duplication; use Google Scholar, Wayback Machine, Crossref or FactCheck sites for validation. If you’re on Trafficontent, draft in Auto Blog Writer, then push approved pieces through Auto Blog Poster + Auto Scheduler and fine-tune SEO with Auto SEO or SEO Optimizer PRO and Channel Manager. Final rule: AI writes the draft, humans verify the facts and tone. Think of the model as co-writer, not the editor-in-chief — unless you like lawsuits and angry customers.
On-page SEO and content structure that ranks
Alright, here's the no-fluff, pocket-sized SEO checklist that actually helps your posts climb the rankings instead of doing interpretive dance in Google’s waiting room. Treat it like a pre-flight checklist: one H1, clean H2s, good alt text, a compressed image, a sane meta title, JSON-LD that tells Google what your article is, and a couple internal links to keep visitors in your content orbit. If you're using tools, Yoast, Rank Math, and Trafficontent’s SEO Optimizer PRO will automate most of this—titles, meta descriptions, and JSON-LD—so you can spend less time fiddling and more time creating (or doing interpretive dance, your call).
- H1/H2 hierarchy: One H1 only (your main headline). Use H2s for major sections and H3s for subpoints. Think outline, not ransom note.
- Keyword placement: Put the primary keyword in the H1, URL slug, and within the first ~100 words. Sprinkle in natural variants in H2s and body—don’t keyword-stuff like it’s a garage sale.
- Meta title & description: Title ~50–60 characters, punchy and keyword-forward. Meta description ~120–155 characters—sell the click. Yoast, Rank Math, and SEO Optimizer PRO all give real-time previews so you don’t overshoot.
- Internal links: Add 2–4 contextual links to related pillar posts using clear anchor text. Keep affiliate/outbound links rel="nofollow" where appropriate.
- Images & ALT: Name files with keywords, write descriptive ALT text (accessibility + ranking), and compress images to under ~200KB or use WebP. Use ShortPixel/Smush on WP, or apps like Crush.pics on Shopify; Shopify also auto-compresses newer uploads.
- JSON-LD schema: Include Article/BlogPosting schema with headline, author, datePublished, image, mainEntityOfPage, and publisher/logo. Yoast/Rank Math output schema automatically; SEO Optimizer PRO and many WP schema plugins can extend fields. On Shopify, add schema in theme.liquid or use a schema app if your theme lacks it.
- Canonical & tags — Shopify vs WordPress: Shopify auto-generates canonical tags and its tag pages can create index bloat—use canonical rules or apps to avoid duplicate content. WordPress plugins (Yoast/Rank Math/SEO Optimizer PRO) let you control canonicals and set tag archives to noindex if desired.
Quick pre-publish ritual: run your SEO plugin’s analysis, check meta previews, confirm schema is present, compress images, insert 2 internal links, and—most importantly—click publish while making a tiny celebratory noise. If you want autopilot blogging, let SEO Optimizer PRO handle meta+schema and schedule posts with an auto-scheduler, then go enjoy your victory latte.
CMS-specific implementation: WordPress vs Shopify
On WordPress you’ll push drafts as Gutenberg content blocks, attach images to the media library, and map any extra data to custom fields (Advanced Custom Fields is the usual sidekick). Use plugins like Yoast for SEO, then let the Auto Blog Poster call the WP REST API or run a WP‑CLI command (example: wp post create --post_type=post --post_status=draft --post_title="My Post" --post_content="…") to create drafts. The key practical tips: map block HTML to post_content, save structured data to postmeta for templates, and keep a published_at / post_date schedule so the Channel Manager can promote drafts reliably without stomping on live posts.
Shopify is different but simple: design with Blog Studio, store structured data in metafields, and create articles via the Shopify Admin API (body_html, author, tags, image, published_at, published). Channel Manager uploads assets, writes article body_html, and sets metafields for CTAs, product links, or structured schema. Practical tips for Shopify blog success: optimize images before upload, use metafields for repeatable blocks (ratings, product cards), and schedule with published_at so your draft stays editable until go‑time. Think of metafields as the LEGO studs under your pretty Blog Studio bricks.
Auto Blog Poster / Channel Manager (Trafficontent tools) tie both worlds together: they map fields, push drafts via each platform’s API, retry on errors, and can flip drafts to published posts on a schedule or webhook. They also support idempotent updates (no duplicate posts), media uploads, SEO plugin compatibility, and optional auto social posting through the Auto Scheduler. Use AI drafts to speed writing, then run a quick human edit before publishing—AI is great at volume and ideas, humans still win at nuance. If you want a dry-run, preview a pushed draft and check platform webhooks/logs; that’s how you move from “draft” to “distribution on autopilot” without the face‑palm moments.
Automate scheduling and publishing (the autopilot bit)
Set the clock and let Auto Scheduler do the heavy lifting. Use Trafficontent’s Auto Scheduler or your native tools — WordPress’ built‑in scheduled posts (or a calendar plugin like WP Scheduled Posts) and Shopify’s “Publish at” field — to create recurring slots for content. Pick a consistent cadence (e.g., Mon/Wed/Fri at 10am store time), set your site/store timezone in Settings (WordPress: Settings → General; Shopify: Settings → Store details) and, for automation reliability, convert recurring rules to UTC in your automation recipes to avoid DST gremlins. If you’re using Trafficontent’s suite, pair Auto Blog Writer with Auto Blog Poster to generate and queue drafts, then let Auto Scheduler hand out publish times like a semiconscious editor with a clipboard.
Hook it up, then make it behave like a polite guest. Use Shopify webhooks or WordPress’ REST endpoints (or a webhook plugin) to push new posts into Zapier or Make for cross‑posting to Buffer, X, LinkedIn, etc., and route failures to Slack or email. Queue strategy: cap publishes to 1–2 posts per day, space similar topics 48–72 hours apart, and rotate categories to avoid content clumps that confuse readers and search engines. Test on a staging site, run a week of automated posts, then tweak. Think of AI (Auto Blog Writer) as your first draft wingman — fine for speed, but always do a human pass for nuance and SEO. Trafficontent’s Channel Manager and Auto Blog Poster can centralize distribution so your content actually gets out the door instead of living forever in Draft Land.
Auto social distribution and repurposing
Hook your blog feed into the distribution engine and walk away like you’ve got a Roomba for content. Point WordPress feeds (example: /feed or /?feed=rss2) or Shopify blog feeds (example: /blogs/news.atom or /blogs/
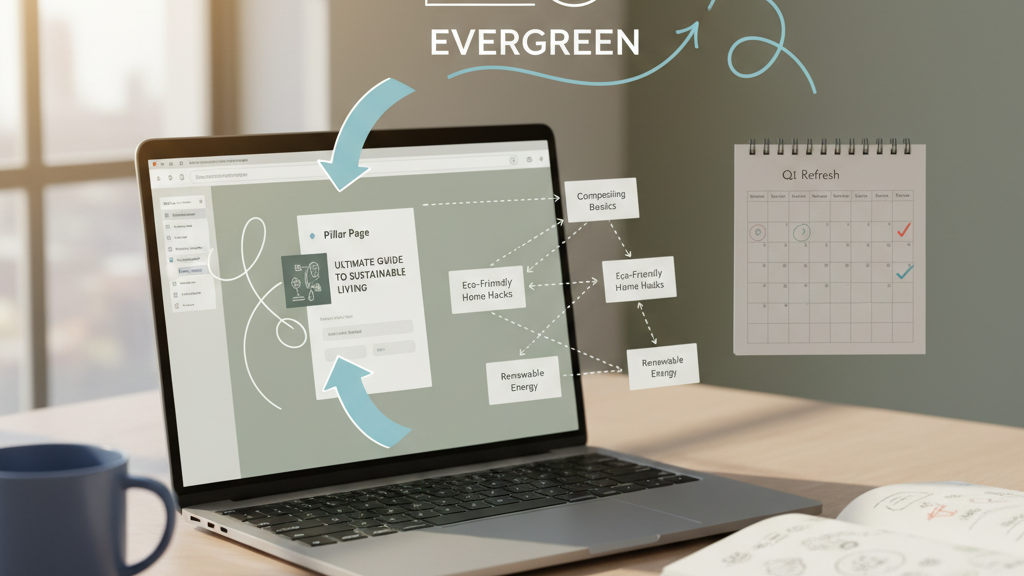
Create caption templates and let AI spin the variants: start with a three-line template like Hook — Benefit — CTA, plus a quote-snippet, a stat + takeaway, a question prompt, and a short X/Twitter-ready line. Use your Auto Blog Writer or an LLM to generate six caption variations and one email subject/body blurb automatically. Then schedule a simple cadence: publish (blog + email) → Day 1 (highlight/visual) → Day 3 (quote card) → Day 7 (how-to snippet) → Day 14 (stat/mini-case) → Day 21 (question/engagement) → Day 30 (evergreen repost). That single post becomes a blog, an email blurb, and six social assets without any copy‑paste gymnastics—just set the RSS → Channel Manager pipeline, load four caption templates and one image template, and let the autopilot do the heavy lifting.
Measure, iterate and scale with metrics and experiments
Track the right numbers. Hook up GA4, Google Search Console, and Shopify’s native reports and watch organic traffic, click‑through rate, time on page (or engagement), and conversion events like newsletter signups or add‑to‑cart. Use UTMs on your auto social posts so Auto Blog Poster / Channel Manager shows which timing and channels actually move people. Set a simple dashboard (weekly) and alerts for big drops — you want signals, not psychic readings.
Run quick experiments, then hand off the winners. Do headline A/B tests and publish‑time experiments (try 2–4 weeks or until you hit a reasonable sample), refine your post templates with Auto Blog Writer + Auto SEO based on what wins, and document the process as SOPs. Once a template reliably boosts CTR or conversions, automate distribution with Auto Scheduler and scale by training contractors on the SOPs or adding tools like SEO Optimizer PRO. Use AI to draft and iterate faster, but always human‑edit — AI is great at speed and structure; you’re still the one who gives it personality (and the jokes).
Quality, legal and ethical guardrails for AI content
Quick checklist before your autopilot spits a Pulitzer—or a lawsuit—into the feed. Run a plagiarism scan (Copyscape, Turnitin, or Grammarly) and keep a copy of the AI prompt and sources the model used. Add clear source citations and canonical links for facts or stats. Make content accessible: alt text for images, logical headings, readable font sizes, and WCAG AA contrast. For product claims, follow FTC guidance—don’t promise results without evidence; keep lab reports, screenshots, or vendor pages on file. And yes, disclose AI help: a short note like “AI-assisted draft — edited by our team” at the top or bottom is enough. If you use Trafficontent tools, tie the source log from Auto Blog Writer/Auto SEO into your content record for audit trails.
If something’s wrong, move fast. 1) Unpublish the post immediately (WordPress: revert with Revisions; Shopify: switch to draft or remove from blog). 2) Add a short correction notice and log the issue in your channel manager or CMS notes. 3) Edit the content, cite primary sources, and re-run plagiarism and SEO checks (Trafficontent’s Auto SEO or SEO Optimizer PRO can help). 4) If it’s a legal/health claim, escalate to legal and keep the original draft version for records. Think of it like a bad haircut: take it down, patch it, and don’t let the barber near the clippers until you’ve checked the mirror.