I’ve built content calendars for both Shopify stores and WordPress blogs, and in this guide I’ll walk you through a practical, repeatable process to plan, create, and publish content reliably. Whether you’re running an e-commerce blog to drive sales on Shopify or a content-driven site powered by WordPress, a content calendar keeps your team aligned, boosts SEO, and makes promotion predictable.
Why a Content Calendar Matters
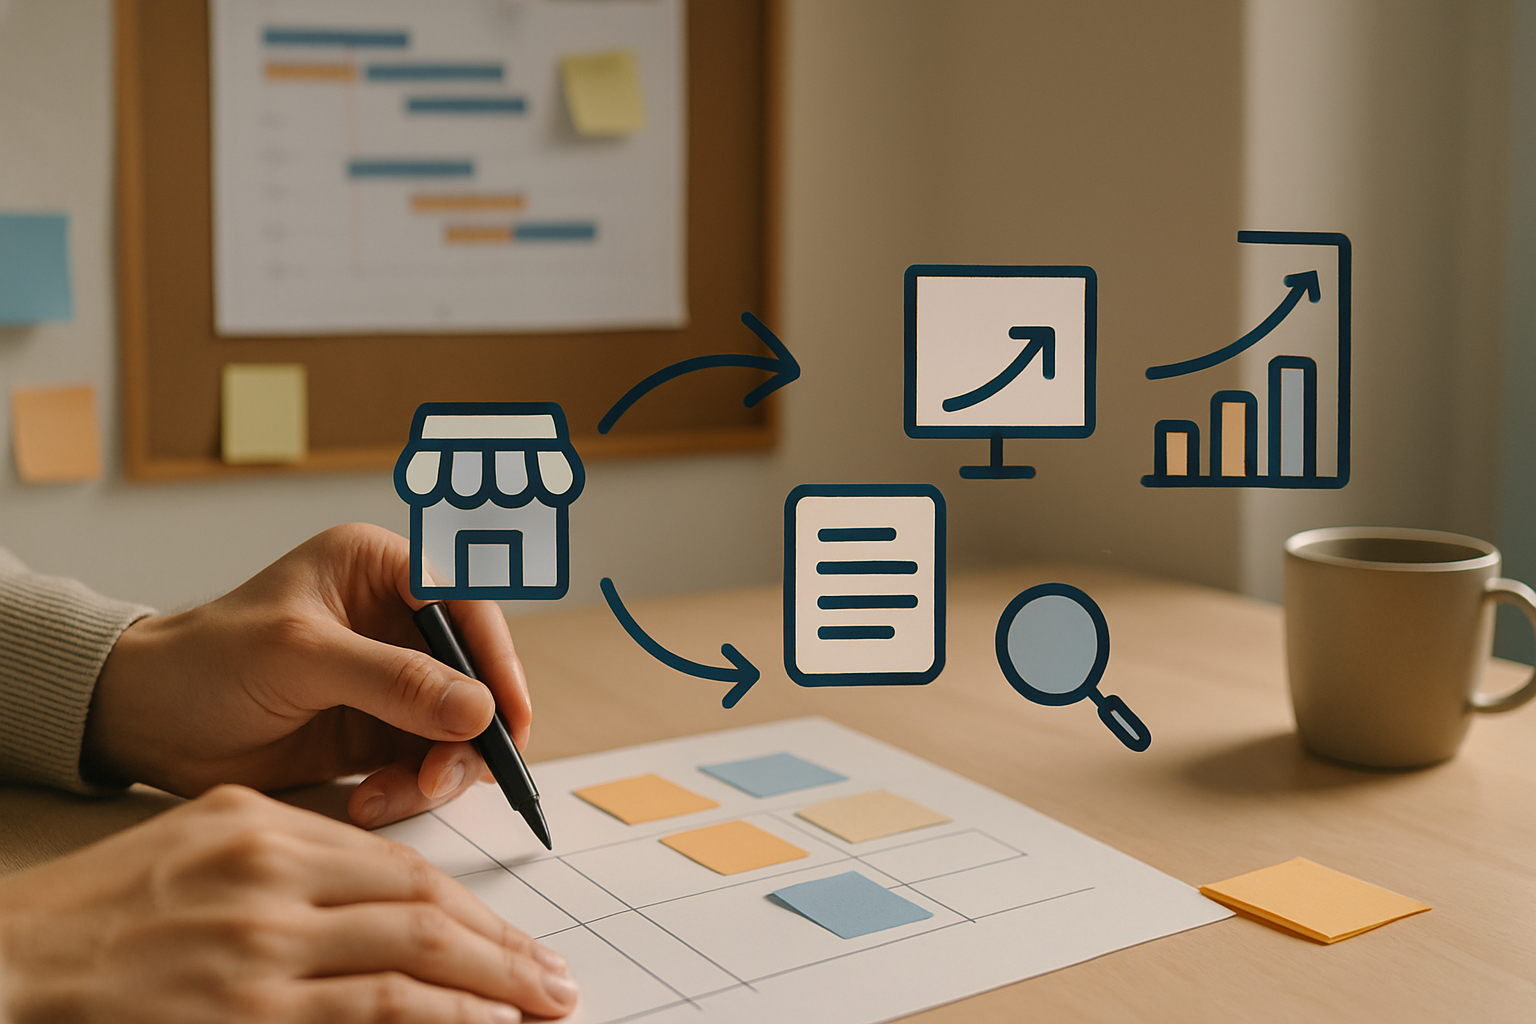
A content calendar is more than a schedule — it’s your editorial strategy mapped to dates. From my experience, teams that use a calendar publish more consistently, reduce last-minute scramble, and improve conversion because content is better planned, optimized, and promoted.
Step 1 — Define Goals and Audience
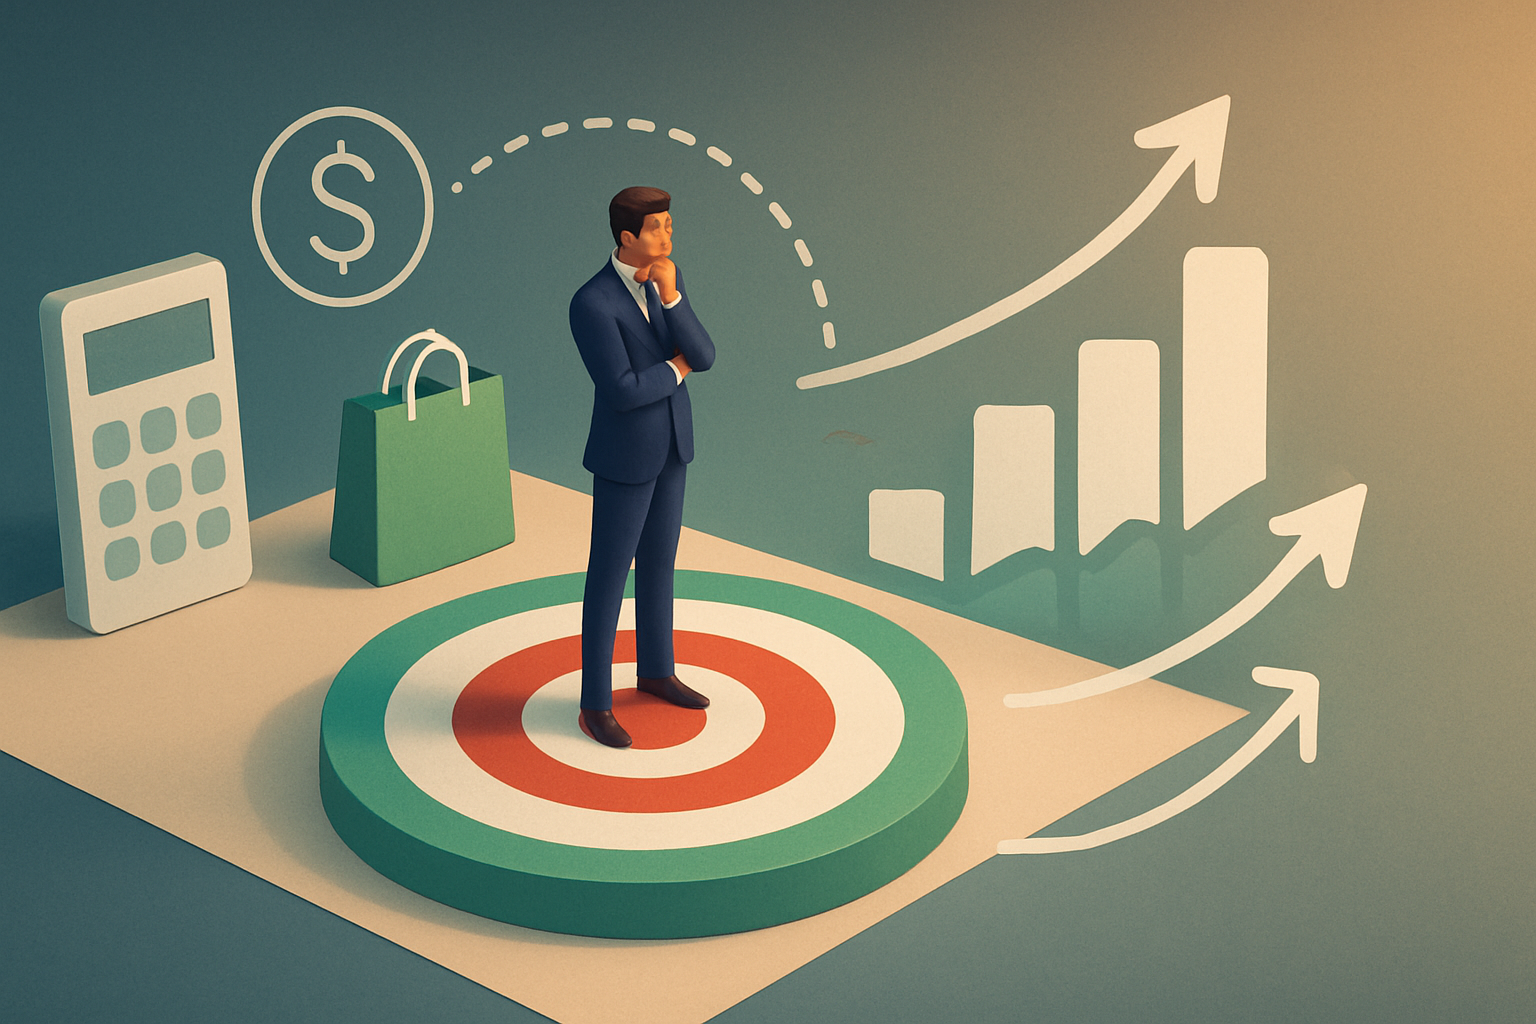
Start by listing 2–3 measurable goals (e.g., increase organic traffic 30% in 6 months, drive 15% of monthly sales via blog posts, grow email subscribers by 2,000). Identify your primary audience segments (new visitors, returning customers, high-value buyers), and map each content type to a goal (how-to posts for acquisition, product guides for conversion, case studies for retention).
Step 2 — Create Content Pillars and Topics
Pick 3–5 content pillars that align with your brand and customer journey. For a Shopify store this might be: product education, gift guides, how-to/style guides, and customer stories. For WordPress-focused blogs it could be: deep-dive tutorials, industry analysis, opinion pieces, and resource roundups. Use keyword research (Google Keyword Planner, Ahrefs, or Rank Math suggestions) to generate topic ideas under each pillar.
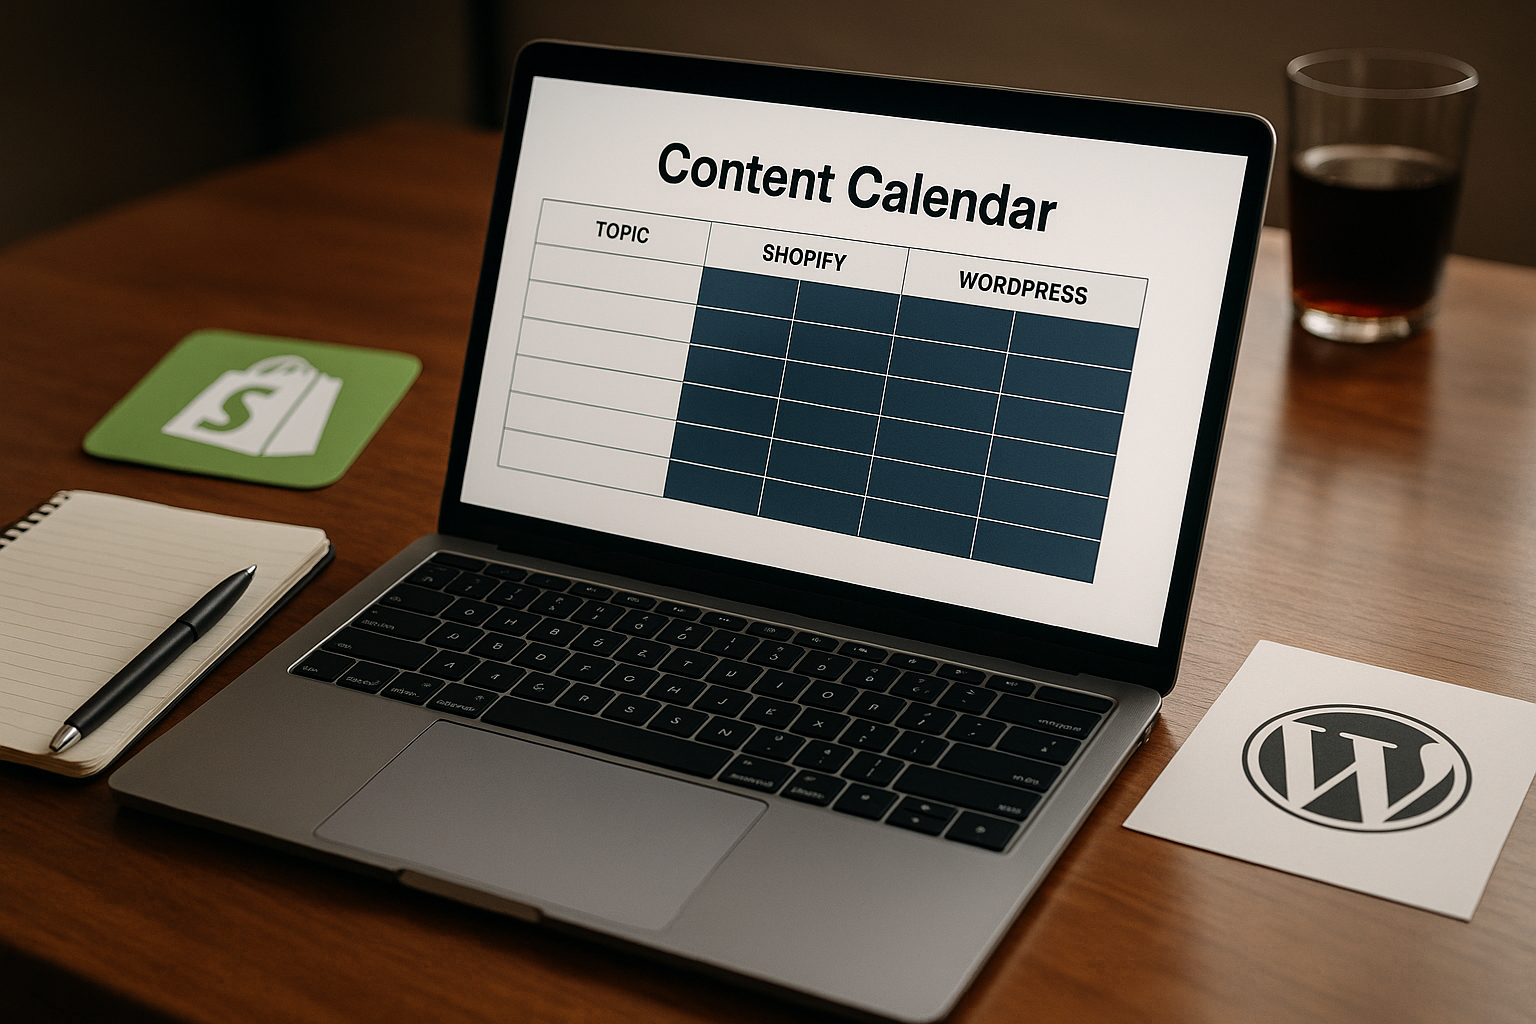
Step 3 — Choose Your Tools and Template
Decide where your calendar will live. I’ve used Google Sheets for simplicity, Notion for rich briefs and collaboration, and Airtable when I needed custom views and automation. A basic calendar template should include these fields:
- Publish date
- Title/Working title
- Content pillar / Topic
- Author / Owner
- Status (Idea / Assigned / Draft / Review / Scheduled / Published)
- Primary keyword / SEO notes
- CTA and target URL (product or landing page)
- Promotion channels (email, social, paid)
- Assets needed (images, videos, product links)
- Notes / Brief link
Step 4 — Plan Frequency and Cadence
Decide how often you can realistically publish while maintaining quality. I recommend starting small — once a week — and scaling up. For Shopify, focus on two types of posts weekly: one product-centric (guide or announcement) and one evergreen (how-to or comparison) to drive SEO. For WordPress, you can mix pillar posts with shorter updates. Block out editorial themes by week or month (e.g., “Holiday gift guides” in November).
Step 5 — Build an Editorial Workflow
Define clear stages so nothing falls through the cracks. A proven workflow looks like this: Ideation → Brief → Draft → SEO & QA → Design & Assets → Schedule → Publish → Promote → Analyze. Assign owners and deadlines for each stage. I always include a quick SEO checklist at the “SEO & QA” stage (meta title, meta description, H1, internal links, alt text, target keyword density).
Step 6 — Optimize for Shopify vs WordPress
While the planning process is similar, there are platform differences to account for:
- Shopify: The blog is typically product-driven. Include clear CTAs to product pages and use UTM parameters for measurement. Many Shopify blogs don’t support advanced schema or heavy custom SEO plugins — rely on on-page optimization and apps (e.g., SEO Manager, Crush.pics for images).
- WordPress: You can leverage plugins like Yoast or Rank Math for structured data, XML sitemaps, and deeper on-page analysis. Use categories and tags strategically to group content and improve internal linking. WordPress is more flexible for long-form content and guest contributors.
Step 7 — Schedule Promotion and Repurposing
Every published post should have a promotion plan: email newsletter, 3–5 social posts, and at least one paid boost for priority posts. I also repurpose long-form posts into newsletters, Instagram carousels, short videos, and product descriptions — this multiplies value without creating new long-form content every week.
Step 8 — Track Performance and Iterate
Measure KPIs tied to your goals: organic traffic, conversions from blog traffic, time on page, backlinks, and social engagement. Use Google Analytics, Shopify Analytics (for commerce attribution), and Search Console. Review performance monthly and quarterly. Double down on topics and formats that drive conversions, and prune underperforming ones.
Sample One-Month Calendar (Simple)
Example cadence for a small Shopify/WP team:
- Week 1 — Product guide (how to use X) — Publish Tuesday; Promo Friday
- Week 2 — Industry trend / opinion piece — Publish Tuesday; Newsletter Monday
- Week 3 — Comparison / alternative post — Publish Tuesday; Paid social next week
- Week 4 — Customer story / case study — Publish Tuesday; Repurpose as IG Stories
Practical Tips I Use Every Week
From my experience:
- Keep a running “idea backlog” in your calendar so you always have ready topics.
- Standardize briefs to save writing time — include target audience, keyword, outline, and required links.
- Use automation where possible (schedule social posts, auto-post WordPress to social via Buffer/Hootsuite, use Shopify’s scheduled publish features).
- Hold a short weekly editorial sync to confirm priorities and blockers.
Final Thoughts
A well-structured content calendar turns content from chaotic to strategic. Start with goals, build simple templates, choose tools that fit your team size, and iterate based on performance. I’ve found that consistency, combined with a focus on conversion-oriented topics for Shopify and SEO-rich long-form posts for WordPress, produces the best results.
If you want, I can share a starter Google Sheets or Notion template tailored to Shopify or WordPress — tell me which platform and team size, and I’ll customize it.