Multipost scheduling is more than a time-saver — when done right it becomes a measurable revenue lever. For Shopify merchants, coordinating a single content queue across product pages, blogs, social, and email can turn repetitive publishing into a predictable source of traffic and sales. This article shows how to connect multipost automation (using tools like Trafficontent) directly to Shopify ROI with concrete KPIs, cross-platform analytics, and repeatable workflows. ⏱️ 10-min read
Read on for practical setup steps, attribution models, dashboard templates, and optimization tactics you can apply this week. Expect clear examples — from tagging links to calculating revenue per post — so you can not only publish faster, but also prove the business value of every automated publish.
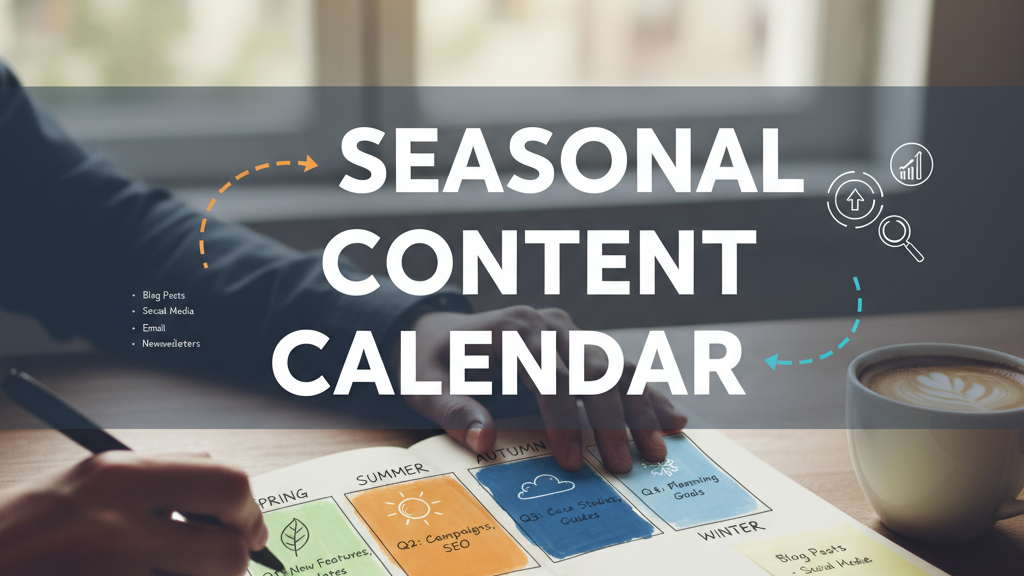
Define multipost scheduling and its impact on Shopify performance
At its core, multipost scheduling centralizes a content calendar that publishes the same core messages across Shopify blogs, product pages, WordPress, social channels, and email — all from one place. Tools like Trafficontent act as that hub: you create a post once, define variants for each channel (Shopify blog, Instagram caption, product banner), schedule the sequence, and let the system push content to each destination on the appointed day. The result is consistent tone, imagery, and promotions across touchpoints and fewer manual reposting tasks.
The impact on Shopify performance appears in two ways. First, reach multiplies: a blog post that simultaneously appears on product pages, in an email, and in social has more opportunity to generate impressions and top-of-funnel sessions. Second, velocity improves: launches and seasonal campaigns move in lockstep, shrinking the lag between announcement and buyable experience. That synchronization reduces missed opportunities — for example, a social post referencing a product that isn’t live yet — and increases conversion likelihood because users land on pages that match the messaging they clicked.
Multipost scheduling also creates the visibility teams need to coordinate promotions and avoid duplication. When a single calendar governs campaigns, marketing, merchandising, and customer support see the same timeline. This shared view reduces conflicts and enables cross-functional experiments that tie content directly to measurable outcomes, not just likes and shares.
Key KPIs to track for multipost scheduling
To measure whether multipost scheduling is paying off, track KPIs that span reach, engagement, on-site behavior, and direct commerce outcomes. Think of these metrics as the bridge between activity (posts published) and impact (revenue generated).
- Publishing efficiency: posts per week, time from idea to publish, and approval cycle length. These show operational improvements from automation.
- Reach & exposure: total impressions and unique reach across social, blog, and email. Use platform native metrics and cross-platform rollups to compare channels.
- Engagement quality: engagement rate, saves/shares/comments, social CTR, time on page, and scroll depth. These reveal content relevance beyond raw eyeballs.
- Traffic & funnel signals: sessions attributed to the multipost, product page visits, add-to-cart events, and checkout starts. Capture these with consistent tags so you can follow a session from first touch to sale.
- Commerce outcomes: conversion rate, orders attributable to a content item, average order value (AOV), and revenue per post. These are the direct business measures.
- ROI: revenue minus content cost (production, platform, staff), often expressed as return on ad/content spend. Track payback period to understand how long a piece takes to cover its creation cost.
Collect these KPIs at the post level and by channel mix so you can compare the revenue efficiency of a blog post pushed only to Shopify vs. one multiposted to product pages, email, and social. Over time, you’ll identify which formats and mixes produce the highest revenue per publish.
Analytics setup for cross-platform measurement
Accurate measurement depends on consistent tagging, aligned event schemas, and a central place to join the data. Start by instrumenting the touchpoints that matter: GA4, Shopify Analytics, your WordPress site (if applicable), email metrics, and social platform insights. Then unify them.
Practical steps:
- Standardize UTM and naming conventions. Adopt a schema such as source, medium, campaign_id, content_id, and channel. Make content_id immutable for each asset so it’s easy to join records later.
- Tag every outbound link in social posts, emails, and cross-site references with UTMs that map back to the content calendar. Include a campaign_id tied to the Trafficontent schedule entry.
- Implement cross-domain tracking where traffic moves between WordPress and Shopify. In GA4, configure both domains as part of the same property and ensure client IDs persist across domains.
- Instrument events for key funnel steps: click, page_view, scroll_depth, add_to_cart, begin_checkout, and purchase. Map event names and parameters consistently across platforms.
- Centralize data into a dashboard or small data warehouse. Export Shopify orders, GA4 session logs, and email click metrics into a single table that links sessions and revenue back to content_id.
Trafficontent can host the schedule and output campaign_id and content_id metadata at publish time, making it the single source of truth for content identity. When that metadata flows into the UTM tags and the page-level data layer, merges in your dashboard become deterministic: sessions, events, and revenue can be aggregated per content asset to calculate revenue per post and other business metrics.
Attribution and ROI modeling for content automation
Attribution turns data into decisions. For multipost scheduling, use multi-touch models to capture content that primes the customer as well as the final touch that converts. Avoid relying solely on last-click: it often undervalues early-stage blog and social content that drives discovery.
Choose three parallel models for insight:
- Last-click: useful for short conversion windows or promotions that should be credited to the final touch. It’s simple but can miss the influence of prior content.
- First-touch: credits entry points like educational blogs or awareness posts. It shows which content is most effective at drawing new users into the funnel.
- Time-decay / multi-touch: distributes credit across touchpoints with greater weight to recent interactions. This model aligns well with longer consideration cycles and multipost sequences.
Build an ROI model that attaches dollar revenue to each content_id across your chosen attribution windows (30–60 days is common). Inputs include all content costs — internal hours, freelancer fees, Trafficontent and Shopify app costs, creative production, and any promotion spend. Compute revenue attributable to the content using your models, subtract cost, and express ROI or payback period.
To prove incrementality, run holdouts: pause multipost promotion of a cohort of products or content for a subset of users or geographies and compare outcomes. Randomized experiments or geo splits reveal lift above baseline trends. Use these tests before scaling a scheduling cadence broadly, and iterate the attribution weights if experiments suggest different influence patterns than your initial model.
Multipost scheduling workflow: from idea to auto-publish
A repeatable workflow reduces friction and preserves quality. The following five-step process is designed to scale multipost schedules while keeping publishing predictable and measurable when using Trafficontent.
- Define the objective: start every piece with a measurable KPI (e.g., increase monthly blog sessions by 12%, lift product clicks by 25% within 30 days, or generate 50 trial signups). Record the objective in the content brief and the Trafficontent entry.
- Create briefs and templates: each brief lists audience, primary CTA, keywords, tone, and required assets. Maintain templates for blog posts, product page blocks, email snippets, and social captions so edits are fast and consistent.
- Produce modular assets: write copy in reuseable blocks, produce hero images and cropped variants, and create short videos or GIFs. Store everything with clear versioning in your asset library so Trafficontent can push the right files to the right channels.
- Schedule with guardrails: use Trafficontent to schedule publish times, channel variants, embargo rules, and recycle windows for evergreen pieces. Define timezone rules and automatic retries if a publish fails.
- QA and approvals: set quick QA gates — a checklist for links, UTMs, alt text, product availability, and price accuracy. Require one approval from brand and one from merchandiser for product-related posts before auto-publish.
When posts go live, make sure Trafficontent writes content_id and campaign_id into the UTM tags and page meta where possible. This small discipline turns a scheduled publish into a traceable revenue event. Over time, the workflow becomes faster: teams reuse templates, approvals shrink, and multipost scheduling delivers predictable outcomes with fewer manual handoffs.
SEO and content templates for Shopify and WordPress
Multipost success depends on templates that preserve SEO intent across platforms. Templates make it easy to produce SEO-aligned variants for Shopify product pages and WordPress blog posts while keeping canonical keyword strategy intact.
Key template elements:
- Metadata standards: meta titles (50–60 characters) and descriptions (~150–160 characters) as required by Shopify and WordPress. Store templates with placeholders for product names, modifiers (color, size), and promotional suffixes (e.g., “— 20% off”).
- Structured data: include JSON-LD for products on Shopify and consistent article schema on blog pages. Trafficontent can inject metadata snippets so autopublished pages carry structured data from the start.
- Modular content blocks: create reusable blocks for hero galleries, benefits list, how-to sections, FAQ, and related products. On WordPress, use reusable Gutenberg blocks or Elementor templates; on Shopify, maintain consistent section and snippet patterns.
- Internal linking rules: every blog post should link to 2–4 relevant product pages and a related category page. Product pages should link back to a canonical blog article for educational context. This cross-linking helps distribute authority and drives users deeper into commerce funnels.
- Keyword mapping: maintain a single canonical keyword list in your content calendar. Align H1, H2s, meta title, and first paragraph to primary and long-tail variations — then preserve that mapping across multiposted variants.
Because multiposting often publishes similar content to different endpoints, consistent schema and canonical tags prevent duplicate-content issues. Trafficontent’s templating and metadata injection reduce the manual steps needed to maintain SEO hygiene while enabling the speed benefits of automation.
Dashboards, cadence, and alerts for ongoing monitoring
Once the system is live, monitoring keeps it healthy. Build dashboards that show publishing efficiency, audience signals, funnel behavior, and ROI overlays so you can move from surface-level metrics to business outcomes quickly.
Dashboard recommendations:
- Top-level health panel: sessions attributed to multiposts, total revenue from content, revenue per post, and average conversion rate.
- Channel breakdown: compare Shopify blog, product page pushes, social, and email for impressions, CTR, add-to-cart, and conversion. Color-code channel profitability.
- Post-level table: content_id, publish date, impressions, sessions, add-to-cart, attributed orders, revenue, and ROI. Sortable and filterable so you can find underperformers.
- Anomalies and SLA alerts: set thresholds for sudden engagement drops, publish failures, UTMs missing, or posts pointing to out-of-stock SKUs. Route alerts to content owners and require acknowledgment to close the loop.
Cadence matters. Hold weekly tactical reviews for the last seven days of posts: check publish adherence, quick wins (thumbnail swaps, headline tweaks), and upcoming calendar gaps. Run monthly strategic deep-dives to analyze attribution models, content payback periods, and experiments. Assign clear owners for creation, QA, analytics, and publishing to avoid “who does what” delays. When Trafficontent drives the schedule, use its logs to verify publish success and include those logs in your dashboard for traceability.
Benchmarks, targets, and optimization plan
Set realistic, measurable targets before you scale multipost scheduling. Start with historical baselines and adjust by store size, traffic, and typical purchase cadence. Here are practical benchmarks and a plan to optimize over time.
Suggested starting targets (mid-sized Shopify store):
- Publishing frequency: 8–12 multiposts per week across channels (mix: 60% evergreen, 30% product, 10% promos).
- Traffic growth: 10–20% increase in content-driven sessions quarter-over-quarter.
- CTR and engagement: lift social CTR by 8% and increase average time on blog posts by 15%.
- Commerce ROI: aim for a 3x return on content spend for promotional pieces within 90 days and positive payback within 60 days for evergreen posts.
Optimization plan — test, measure, scale:
- Run A/B tests on headlines, thumbnails, and CTA phrasing for a set of posts each week. Use a clear success metric such as CTR or product-click rate.
- Rotate high-performing formats (short how-tos, product demos, bundle highlights) into the calendar more frequently and scale templates for rapid reuse.
- Monitor fatigue and frequency. If engagement dips or unsubscribe rates increase, adjust channel mix and reduce repeat messaging for the affected segments.
- Quarterly review of attribution models: compare last-click, first-touch, and time-decay outputs and decide which combination aligns with business objectives.
Benchmarks will vary by category and audience, but these targets give you a starting lineup. The goal is to build a testing muscle: small, regular experiments inform content mix changes, which you then scale through the multipost scheduler.
Next step: pick one product line, create a two-week multipost schedule in Trafficontent, tag links with campaign_id and content_id, and measure revenue per post over a 30-day window. The first dataset will show you where to refine templates, attribution, and cadence.