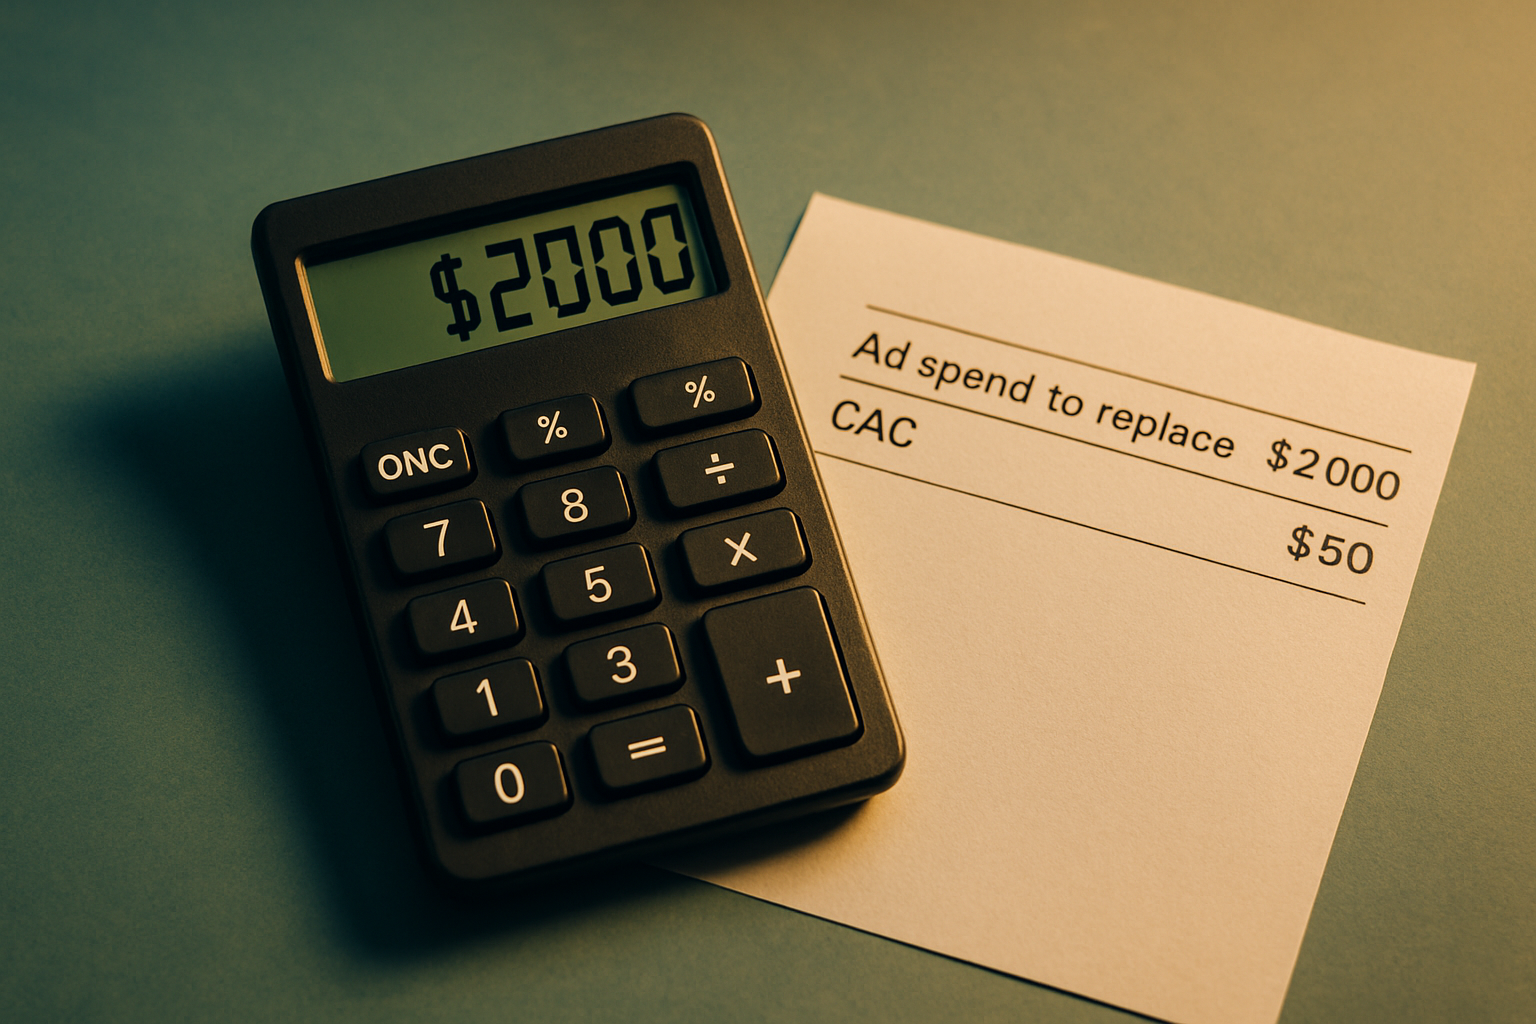
1) Calculate the $2,000: baseline metrics and the math
Picture a three-line spreadsheet — it’s annoyingly simple, like a meme with a calculator. Line 1: Ad spend to replace = $2,000. Line 2: CAC (cost per acquisition) = your current ad-driven cost per order. Line 3: AOV (average order value) = how much each order brings in. Core formulas you’ll actually use: conversions_needed = ad_savings / CAC and visits_needed = conversions_needed / organic_conversion_rate. If you care about profit (you should), use conversions_needed_profit = ad_savings / (AOV × margin) so you’re replacing profit, not just top-line revenue. ⏱️ 11-min read
Example (because numbers make us feel safe): say CAC = $50, AOV = $80, margin = 40%, and organic CR = 2%. Simple replacement: conversions_needed = 2000 / 50 = 40, so visits_needed = 40 / 0.02 = 2,000 organic sessions. Profit-aware replacement: conversions_needed_profit = 2000 / (80 × 0.4) ≈ 63, so visits_needed ≈ 3,150. If you already get 500 organic visits/month, that’s an incremental 1,500–2,650 visits depending on whether you aim for revenue or profit. Track this in Shopify and Google Search Console, focus on E‑E‑A‑T for YMYL topics, and consider tools like Trafficontent’s Auto Blog Writer/Poster/Scheduler and Auto SEO to help hit those visit targets on autopilot — that’s the boring-but-effective work that actually saves you $2k instead of just dreaming about it.
2) Choose blog topics that actually replace paid clicks
Pick pages that replace clicks, not clicks themselves
Don’t aim for listicles that make you feel popular — aim for pages that make ads unnecessary. Bottom-funnel topics do that: product comparisons, “how to choose” or buyer's guides, troubleshooting posts, and single-product FAQs. These are the pages people land on when they’re about to pull out their credit card, not when they’re just window-shopping. For YMYL or technical categories, follow E-E-A-T: add author creds, cite specs or manuals, and include update dates so Google trusts your buying advice (and so your readers don’t sue you for bad headphone recommendations). Think of blog posts as salespeople that don’t steal the office cookies.
Reverse-engineer ad keywords and prioritize by revenue
Do this like a detective: 1) Pull queries from Google Search Console (Performance → Queries) and filter for pages that convert or are product-heavy. 2) Check Merchant Center performance (or Google Ads reports) for high-CPC search terms your ads already buy. 3) Expand those terms in a keyword tool (Google Keyword Planner, Ahrefs, SEMrush, Ubersuggest) to get volume and CPC estimates. 4) Score topics by intent and revenue potential, not by raw traffic — a simple score: Intent (0–3), CPC proxy (0–2), Ease to rank (0–2), Existing conversion signal (0–1). Tally and prioritize posts with high intent + CPC even if volume is modest. Use automation tools like Trafficontent’s Auto Blog Writer/Poster to draft and schedule these pages once you’ve nailed the topic list. Bottom line: build comparison pages, “how to buy” guides, and troubleshooting FAQs that mirror the ad keywords you’d otherwise pay for — and watch the ad spend shrink while your conversion pages do the heavy lifting.
3) Build conversion-first Shopify blog templates
Treat each post like a tiny landing page. Use Shopify Online Store 2.0 sections and metafields to drop shoppable product blocks (product image, short bullets, price) directly into posts. Make those blocks truly shoppable with Shopify’s product-form or the AJAX /cart/add endpoint so customers can add without leaving the article. For variants, use deep-links like /products/your-handle?variant=1234567890 or build links from the variant ID in a metafield so the exact SKU opens every time — no guesswork, no accidental socks-instead-of-sneakers sales.
Put a sticky add-to-cart CTA in the mobile viewport (position: fixed; bottom:0) with a big tap target and a persistent price. Hook that CTA to the AJAX cart so the page doesn’t reload — conversion wins, rage quits avoided. Mobile-first layout tips: single-column flow, large touch targets (44px+), compressed images and lazy-loading, reduced chrome (hide heavy sidebars on phones), and prioritize the hero product and CTA above the fold. Use metafields to swap promos or UGC per post so your blog posts behave like targeted landing pages without manual edits.
Don’t skip review snippets and structured data: inject JSON‑LD Product schema (name, image, sku, offers, aggregateRating, review) pulled from product metafields so search engines can surface rich results. That boosts trust and E‑E‑A‑T — the “I‑can‑sleep‑at‑night” signal for YMYL-ish shoppers — and helps you earn organic clicks instead of burning $2,000 in ads. Pro tip: build these pieces into the template once (sections + metafields), then reuse — it’s like putting your blog on autopilot, but with better conversion rates and fewer sad cart abandons.
4) Apply E-E-A-T and YMYL best practices so search trusts you
Want search engines to trust your Shopify blog so you can cut back on ads (and finally buy that extra coffee machine)? Start by showing real people did the writing and vetting: add an author bio with photo, title, credentials, and a link to LinkedIn or an author page; show a “last updated” timestamp and an editorial policy. Use transparent sourcing—link to primary sources, studies, or product pages—and add a short line about how you verified facts. For reviews and social proof, include customer photos, order IDs or case-study numbers, starred ratings and Review schema; for FAQs, add FAQ schema so Google can surface answers directly. Tools like Trafficontent’s Auto SEO or SEO Optimizer PRO can automate meta tags and structured data if you’d rather not wrestle with JSON-LD at midnight.
If your content touches wallets or health—aka YMYL—don’t wing it. Add clear disclaimers (“not medical advice”), require expert review for medical/financial posts, and show the reviewer’s name and licence. Publish a corrections policy, a visible contact page, HTTPS, and privacy and refund policies—these tiny trust signals cut friction and reduce the need to shove traffic with paid ads. For quick references, follow Google’s guidance on E-E-A-T and schema.org for Article/Person/Review/FAQ; treat trust signals like sprinkler irrigation: they make the organic garden grow so you can spend less on billboards.
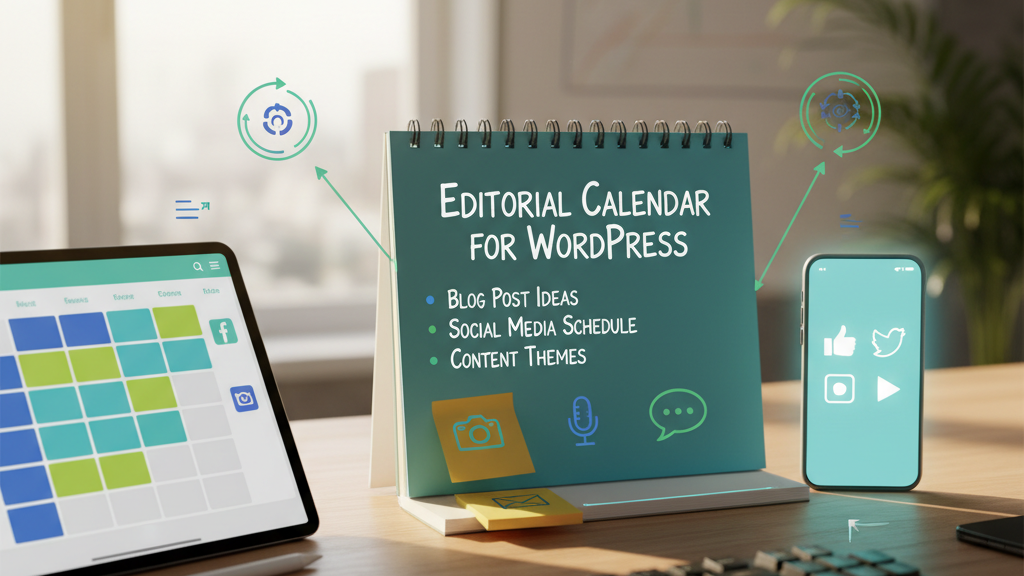
5) Put content on autopilot—write, post, and promote without burning hours
Build a simple, reliable stack: use Auto Blog Writer (Trafficontent) to draft posts from your editorial templates, feed those drafts into Auto Scheduler for timing, then push live with Auto Blog Poster or employ a WordPress blog autopilot cross-post if you run WP alongside Shopify. Add Auto SEO, the Channel Manager and SEO Optimizer PRO for meta, canonical tags, and sitemaps. For distribution, wire RSS into Zapier to blast social platforms (X, LinkedIn, Facebook) and your ESP’s RSS‑to‑email; it’s basically a Roomba for content—cleans up traffic so you don’t have to.
Guardrails matter. Use editorial templates with set tone and structure, target ~800–1,200 words, and require one internal link per ~300 words and at least two authoritative external citations for claims. AI settings: temperature 0.2–0.4, max output ~1,000 words, and enable a plagiarism check (Copyscape or built-in) before posting. Mark YMYL pieces for mandatory human review, add an author bio to satisfy E‑E‑A‑T, keep keyword density under 2.5%, and forbid list-only or filler outputs—force subsections and practical takeaways. For rollout: start auto‑publishing non‑YMYL posts after one human pass, schedule no more than three auto posts/day, and use Zapier/RSS only after the post is published and verified. Follow these specifics and your Shopify blog will earn trust and traffic—while saving the ad budget you’d otherwise burn like a late‑night infomercial.
6) Internal linking, content clusters and product funnels that convert
Start by sketching a pillar–cluster map that funnels readers to the product page like a well-planned heist—only legal and less fedora. Make the pillar page the broad guide, cluster posts target long-tail queries, and the product page the end-goal. Use contextual CTAs inside the first half of the article and again near the conclusion (one soft, one hard). Add a related-products block under the content, breadcrumb trails at the top so users and search engines know the hierarchy, and a “Suggested next reads” list to keep people clicking instead of bouncing. Aim for 3–5 internal links per article: pillar→cluster→product flow works best. Tools like Trafficontent’s Auto Blog Writer and Auto Scheduler can automate posting and keep this funnel humming on autopilot.
When it comes to anchor text, be helpful, not spammy. Prefer descriptive anchors of 2–6 words that include the product name or a clear benefit—think “EcoTote shipping kit” or “faster Shopify checkout with Auto Blog Poster”—and mix in a few branded links. Don’t stuff exact-match keywords; vary phrasing and place links in natural sentences to pass relevance and preserve E‑E‑A‑T (especially for YMYL-adjacent pages). Link from high-authority pillars and related clusters to consolidate signals to your top-converting product pages, and keep URL structure and anchor patterns consistent so search engines can follow the breadcrumbs without getting lost.
7) Measure, A/B test and prove the ad savings
Want to prove your blog actually pays rent? Track the right signals: set up GA4 events (page_view, scroll, click CTA, add_to_cart, begin_checkout, purchase), map out conversion paths (first touch → assist → last touch), and review assisted conversions in GA4 and Shopify Analytics so you don’t credit everything to that one expensive holiday ad. Use clear UTMs on internal links, keep your attribution window consistent (compare 7/30/90‑day windows), and consider server‑side tagging or GTM to avoid missing events. Quick A/B experiments to run now: change the CTA copy (benefit vs. urgency), swap the hero image (product-in-use vs. clean studio shot), and move the product block (inline in the post vs. a sticky sidebar). Measure each test against micro‑conversions (CTA clicks, add_to_cart) and final purchases — winners get rolled sitewide like a good Taylor Swift tour.
Here’s the math to prove when organic replaces $2,000 in ads: 1) pick your monthly ad cost ($2,000); 2) calculate profit per order = AOV × margin% (for example, $80 AOV × 40% margin = $32 profit/order); 3) needed orders = ad cost ÷ profit per order (2,000 ÷ 32 ≈ 62.5 → 63 orders); 4) needed visitors = needed orders ÷ blog conversion rate (if blog CR = 1% → 6,300 visitors; if 2% → 3,150 visitors). Track cumulative assisted conversions across your chosen attribution window (30–90 days) — once organic orders hit that "needed orders" number reliably, you’ve technically replaced $2,000 in ads. If math bores you, think of it like a video game: increase damage (conversion rate), raise loot per kill (AOV/margin), and you need fewer hits (visitors) to beat the boss ($2k ad spend). Use GA4 + Shopify reports (or tools like Trafficontent for automated publishing) to keep the scoreboard honest.
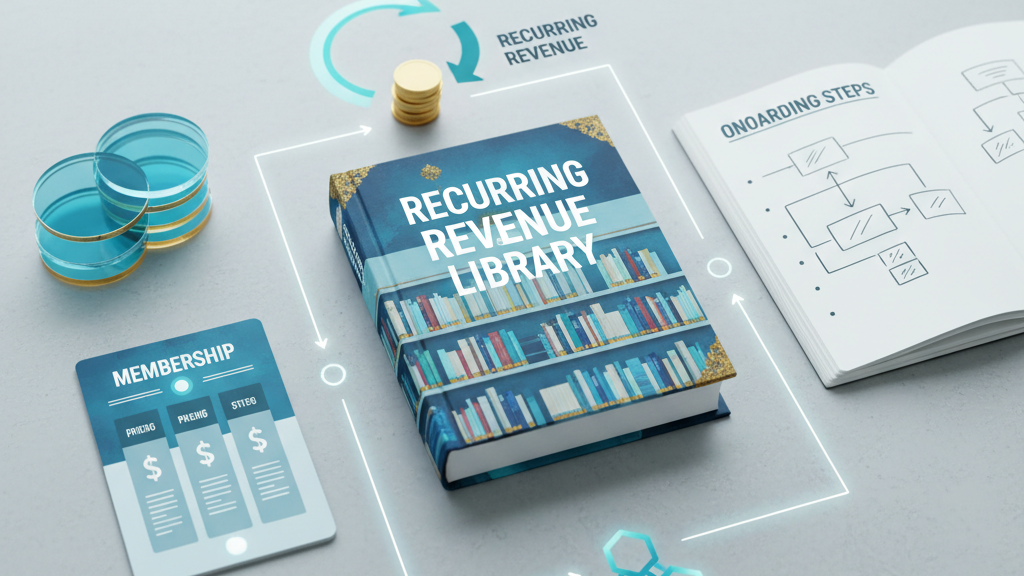
8) Scale, repurpose and stay compliant while you grow
Repurpose like a content DJ: pick one strong Shopify blog post and turn it into an email flow (welcome, product guide, cart recovery, 2-week tip), three 15–30s social clips (Reels/TikTok/Stories), a 60s hero clip for YouTube Shorts, and a focused landing page with a clear CTA and social proof. Use templates so you’re not reinventing the wheel every time: hero + benefits + proof + CTA for landing pages; short, snackable scripts for clips; and a 3–5 email sequence template you can tweak. Tools like Trafficontent’s Auto Blog Poster, Auto Scheduler and Channel Manager can auto-publish and push variants, while SEO Optimizer PRO keeps meta descriptions and schema consistent — less grunt work, more organic traffic, and fewer dollars wasted on ads.
Scale without becoming a legal headline: put an affiliate disclosure conspicuously (ideally above the first affiliate link or at the top of the post), keep a clear privacy policy that names processors (Klaviyo, Mailchimp, Stripe, Shopify), and use a GDPR cookie banner that requires consent for non‑essential cookies. For YMYL topics (health, finance, legal), require an expert review — a short, signed checklist that notes the reviewer, date, and changes — before publishing. Follow E‑E‑A‑T: add author bios with real credentials or experience, cite reliable sources, and store review logs so you can prove due diligence if anyone asks (or if a regulator decides to play referee).
Make scaling cheap and sane: create a lightweight editorial checklist (facts, sources, affiliate disclosure, privacy check, reviewer sign-off), version control your posts, and batch-create content using autopilot features in WordPress or the Trafficontent suite. When in doubt, automate the boring parts but keep the human check for YMYL claims — AI can be your sous-chef, not the head chef. Do that, and you’ll protect trust, avoid fines, and actually save the $2,000 you’d otherwise funnel into chasing paid ads — which is basically the marketing equivalent of buying a timeshare for your bounce rate.