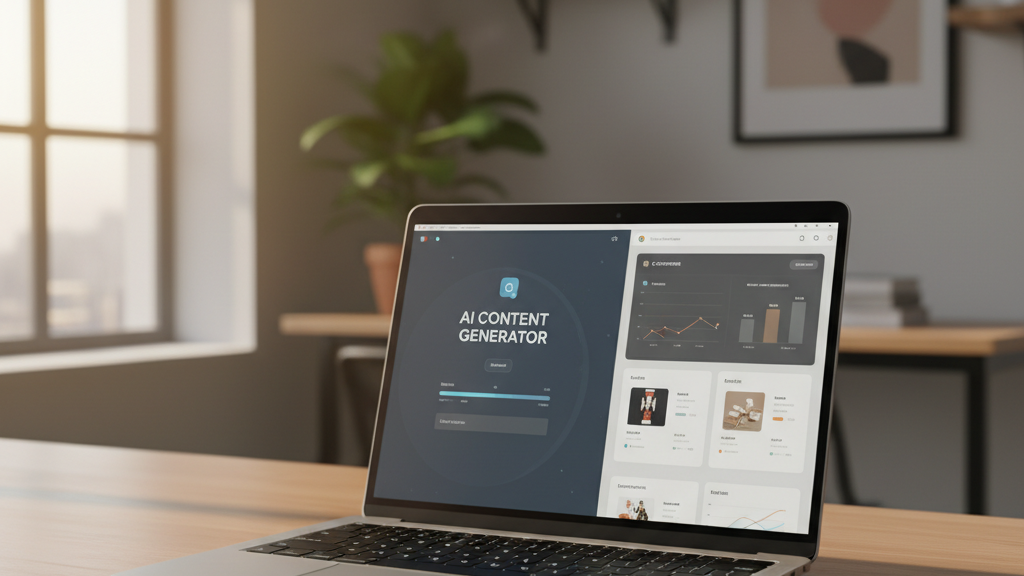
Why automate Shopify blog scheduling and thumbnail generation?
इमेज के साथ Shopify ब्लॉग पोस्ट शेड्यूलर का ऑटोमेशन सीधे तौर पर समय बचाता है और प्रकाशन दर बढ़ाता है। मैन्युअल लेखन, इमेज क्रिएशन और टाइमिंग के चक्र को हटाकर आप कम समय में ज्यादा पोस्ट प्रकाशित कर सकते हैं — जिससे आपके पास ज्यादा इंडेक्स होने वाले पृष्ठ बनते हैं और ऑर्गेनिक ट्रैफ़िक बढ़ने के मौके बढ़ते हैं। Trafficontent जैसे Shopify ब्लॉग स्वचालन ऐप से आप SEO‑optimized आर्टिकल, स्मार्ट इमेज प्रॉम्प्ट और UTM ट्रैकिंग के साथ ब्लॉग कंटेंट बनाकर शेड्यूल कर सकते हैं, जिससे प्रकाशित पोस्ट का प्रभाव मापना और अनुकूलन दोनों आसान हो जाते हैं। ⏱️ 7-min read
एक समान Open Graph थंबनेल हर सोशल शेयर पर क्लिक‑थ्रू रेट (CTR) बढ़ाने में मदद करता है और रेफरल क्लिक को मापने योग्य रूप में बढ़ाता है, जिससे आप एड्स पर निर्भरता कम कर पाते हैं। ऑटोमेटेड थंबनेल जेनरेशन से ब्रांड कंसिस्टेंसी बनी रहती है — सही क्रॉप, ब्रांड ओवरले और प्लेटफॉर्म‑विशेष प्रीव्यू हर पोस्ट पर लागू होता है। Trafficontent पूरी पब्लिशिंग लाइन (Open Graph प्रीव्यू, पिन्टरस्ट/ X/ LinkedIn शेयरिंग, मल्टीलैंग्वेज सपोर्ट और फुल ऑटोमैटिक पब्लिशिंग) संभालता है, ताकि आप परिणाम (ऑर्गेनिक सत्र, रेफरल क्लिक, और कम किए गए एड खर्च) को सीधे Analytics और UTM रिपोर्ट में ट्रैक कर सकें।
How AI-based automatic thumbnail generation actually works
AI‑आधारित थंबनेल पाइपलाइन सिंपल लेकिन तकनीकी स्टेप्स पर काम करती है: सिस्टम पहले स्मार्ट इमेज प्रॉम्प्ट बनाता है (आम तौर पर उत्पाद लिंक, कैटेगरी और ब्रांड टोन से)। उसके बाद प्री‑डिजाइन टेम्पलेट लागू होते हैं — फोकल‑पॉइंट डिटेक्शन के साथ ऑटो‑क्रॉप/रिसाइज़, टेक्स्ट ओवरले और लोगो की सुरक्षित प्लेसमेंट लाइन्स। यह सब नियम‑आधारित होता है ताकि टेक्स्ट हमेशा पढ़ने योग्य रहे और लोगो कभी कट न जाए।
बहुभाषी इमेज प्रॉम्प्ट्स AI को अलग‑अलग मार्केट्स के लिए उपयुक्त विज़ुअल बनाने देते हैं; आप हिंदी, अंग्रेज़ी या किसी और भाषा में कंटेंट भेज सकते हैं और AI उसी भाषा में कैप्शन/ओवरले सुझाएगा। जब आप अपने ब्रांड एसेट और प्रोडक्ट लिंक जोड़ते हैं, तो AI उन रंगों, फोंट्स और उत्पाद शॉट्स का उपयोग करके on‑brand इमेजेस बनाता है — एक व्यावहारिक उदाहरण है Trafficontent, जो Shopify और WordPress स्टोर्स के लिए स्मार्ट इमेज प्रॉम्प्ट्स, मल्टीलैंग्वज सपोर्ट और पूरी ऑटो‑पब्लिशिंग का समाधान देता है।
अंत में, थंबनेल को प्लेटफॉर्म‑स्पेसिफिक पिक्सल साइज पर एक्सपोर्ट किया जाता है: Open Graph के लिए अक्सर 1200×630, X/Twitter कार्ड के लिए ~1200×628 और Pinterest के लिए 1000×1500 (2:3) जैसी रेशियोज़ को प्राथमिकता दी जाती है। ये पिक्सल‑एडजस्टमेंट्स सुनिश्चित करते हैं कि Shopify ब्लॉग स्वचालन ऐप से पोस्ट शेड्यूल करते समय इमेज सही प्रीव्यू दें और सोशल शेयरिंग/SEO दोनों के लिए ऑप्टिमाइज़्ड रहें।
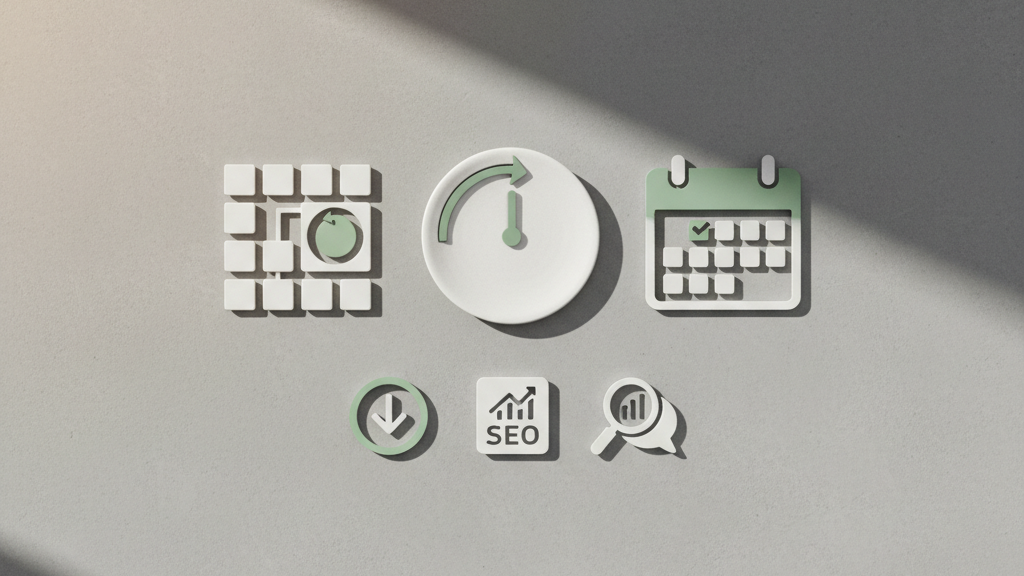
What metadata and image assets you must auto-generate for SEO and social
हर पोस्ट के लिए ऑटो‑जनरेट करने वाले जरूरी आउटपुट: title tag (संक्षिप्त, कीवर्ड‑फ्रेंडली), meta description (CTR बढ़ाने के लिए 120–160 वर्ण), image alt text (इंडेक्सिंग और विज़ुअली इम्पेयर्ड उपयोगकर्ताओं के लिए), Open Graph / Twitter card images (सोशल प्रीव्यू में क्लिक बढ़ाते हैं), उचित और SEO‑फ्रेंडली image filenames (slug में कीवर्ड), FAQ schema (रिच रिज़ल्ट के लिये प्रश्न‑उत्तर स्ट्रक्चर), और UTM‑tagged links (कॅम्पेन‑स्तर पर ट्रैफ़िक स्रोत मापने के लिये)।
क्यों जरूरी हैं: title और meta description सीधे सर्च इंडेक्सिंग और SERP CTR को प्रभावित करते हैं; alt texts और filenames इमेज सर्च में रैंकिंग और एक्सेसिबिलिटी में मदद करते हैं; OG/Twitter इमेज पोस्ट शेयरिंग के दौरान प्रीव्यू CTR डिक्टेट करते हैं; FAQ schema rich snippets लाता है जिससे दिखाई देने की जगह बढ़ती है; और UTM टैग्स से आप सोशल/पीआर/इमेल कैम्पेन का सटीक ROI ट्रैक कर पाते हैं। Trafficontent एक ऑल‑इन‑वन AI‑पावर्ड इंजन है जो Shopify ब्लॉग स्वचालन ऐप के रूप में यही सब ऑटोमेट कर देता है — OG प्रीव्यू, FAQ schema और UTM ट्रैकिंग सहित — ताकि आप तेज़ी से स्केल कर सकें और एड‑डिपेंडेंसी कम कर सकें।
Step-by-step setup: configuring a Shopify blog scheduler with image automation
Follow this concise checklist to get a Shopify blog scheduler working with automated thumbnail generation. The steps below assume you’re using an AI‑powered tool like Trafficontent, which can create SEO‑optimized posts and images, add UTM tracking, generate Open Graph previews, and publish to Pinterest, X, and LinkedIn automatically.
- Connect your Shopify store: Install the Trafficontent app or connect via API, grant blog and product read/write permissions, and verify the store handle.
- Add brand and product links: Enter your brand assets (logo, brand colors), homepage and collection links, and optional product URLs so the tool can create context‑aware content and link suggestions.
- Choose image templates and cadence: Select thumbnail templates, specify social sizes (Pinterest, X, LinkedIn), enable smart image prompts or upload your own assets, and set post frequency (daily/weekly/batched).
- Set timezone and publish windows: Configure store timezone, define allowed publish days/times (avoid weekends if needed), and set default publish cadence per blog or collection.
- Enable auto‑publish and social integrations: Turn on auto‑publish for posts you trust, connect social accounts, enable Open Graph previews and UTM templates so every post is tracked.
- Run a quick test post: Create one test article, review the AI copy, thumbnail, SEO meta, schema (FAQ), and social preview; then publish to a staging channel or set as private to confirm formatting and links.
Staging & approval tips: Keep the first 3–7 automated posts in draft or staging mode and require manual approvals for new templates. Add reviewers, use content tags to route drafts, and enable notifications for approvals. Once templates are validated, flip auto‑publish on for selected categories and monitor performance using UTM and analytics to fine‑tune cadence and image styles.
Thumbnail design best practices and practical templates for Shopify blogs
Specs & design rules: For the best cross‑platform results, build thumbnails at these target sizes: Open Graph/Twitter card 1200×630 px (1.91:1), Pinterest vertical pin 1000×1500 px (2:3), and a safe mobile/feed square 1080×1080 px (1:1) so cropping won’t cut heads or logos. Keep a 10% safe zone from every edge for faces, logos and key copy; on a 1200px base that’s ~120px. Use headline type that reads clearly at thumbnail scale — about 60–80px on a 1200px image (roughly 5–7% of image height) and supporting text 24–32px; if you prefer a rule of thumb, make the headline at least 10–12% of image height. Aim for strong contrast (WCAG baseline 4.5:1 for body text; for small thumbnail text target ≥6:1) and test legibility at actual phone size. Place logos in a corner (bottom‑left or bottom‑right), keep logo width to 10–15% of image width and allow 40–60px padding on a 1200px canvas so it never looks crowded.
Two practical templates to A/B test: Product‑focused: large product photo filling 60–70% of the frame, short 4–6 word benefit headline, high‑contrast color overlay (20–40% opacity) behind the text, price or offer tag in a corner, small logo bottom‑right. Editorial/lifestyle: full‑bleed lifestyle image, longer headline (6–10 words) left‑aligned in a readable column, author or category strip at the top or bottom, subtle logo and no price tag. Test these variables: crop (center vs left), overlay opacity, headline length, and CTA presence. Tools like Trafficontent, built for Shopify blog automation, will auto‑generate OG images and smart image prompts, show an Open Graph preview, add UTM tracking and publish on schedule — useful when you want to Shopify ब्लॉग पोस्ट को स्वचालित रूप से शेड्यूल करें और सोशल पर शेयर करना भी ऑटो कराना.
Automating social sharing and distribution with image-aware posts
Start by connecting your Pinterest, X, and LinkedIn accounts through your blog automation app — typically via OAuth or an account settings panel that asks for posting permissions. Plan a primary publish time for the Shopify blog post, then stagger cross‑posts: for example, publish to X immediately for momentum, schedule LinkedIn during business hours, and queue Pinterest for a later pin with a taller crop. Generate one master image and let the tool create platform‑specific crops and captions: portrait (2:3) for Pinterest, landscape for LinkedIn and X, and shorter, hashtag‑focused captions for X. Automate UTM parameters so every shared link gets source, medium, and campaign tags appended for clean tracking in Google Analytics or your reporting tool.
Tools like Trafficontent illustrate how this works in practice: you add your brand and product links, and it writes SEO‑optimized posts, creates smart image prompts, shows Open Graph previews, applies UTM tracking, and automatically publishes and shares to Pinterest, X, and LinkedIn. The result is consistent cross‑platform distribution without manual formatting — multi‑language support and FAQ schema are handled too, which saves time and keeps SEO signals intact while you scale publishing.
Measuring impact: KPIs, A/B tests, and ROI of automated blogging
Track a small set of clear KPIs: organic sessions (GA4 sessions from non‑paid search), social referral CTR (clicks ÷ impressions on shared posts), engagement on shared posts (likes/comments/shares per impression), conversions from blog traffic (orders or leads attributed to blog sessions), publication velocity (posts per week) and time saved per post (average production time before vs after automation). Record a baseline for each metric, use simple formulas (CTR = clicks/impressions, conversion rate = conversions/sessions) and compare week‑over‑week to spot trends rather than chasing daily noise.
For A/B tests, run one variable at a time: thumbnail A vs B or headline A vs B, publish both across similar channels, and collect at least a couple hundred impressions or a week of traffic before judging results. Use UTM parameters to attribute lifts — e.g., utm_source=twitter&utm_medium=social&utm_campaign=summer_blog&utm_content=thumbA — so GA4 can tie clicks and conversions back to the variant. If you use an automation tool like Trafficontent, it will auto‑generate images, append UTM tags and publish variants at scale, making it easy to measure CTR and conversion lifts. Finally, turn improvements into ROI by multiplying incremental conversions by average order value, subtracting the tool and labor costs, and dividing by that cost to compare investment vs return.
How to pick the right automation tool and a migration checklist
Start by prioritizing features that directly save time and protect SEO: reliable AI content plus image generation, full automatic publish scheduling, multilingual support, Open Graph/FAQ schema and UTM handling, social integrations (Pinterest, X, LinkedIn), and editorial controls for review and rollbacks. If you want a single, predictable workflow for Shopify or WordPress—SEO‑optimized posts and images generated, scheduled, and auto‑shared—an all‑in‑one like Trafficontent makes sense. Trafficontent specifically offers smart image prompts, multilingual support, FAQ schema, OG preview, UTM tracking and full auto‑publish, so it’s a good choice when your goal is to scale organic traffic and cut ad dependency. Choose a piecemeal approach only if you need a best‑of‑breed tool for one narrow job, have existing editorial processes that won’t change, or must optimize costs by combining separate apps.
Migration checklist (short): audit and export current posts, URLs, meta and schema; map redirects and canonical tags; capture language versions and SEO fields; set UTM and social preview templates; configure image‑generation prompts and test thumbnail quality; run a staged auto‑publish test and verify OG/FAQ markup in the page source; prepare a rollback plan and monitor traffic/console errors after rollout. Following these steps keeps SEO stable and ensures your new automation behaves as expected.
Common pitfalls, governance and troubleshooting playbook
ऑटोमेशन बहुत मददगार है, लेकिन बिना सही गवर्नेंस के ये ब्रांड‑ड्रिफ्ट, कॉपीराइट उल्लंघन और गलत या डुप्लीकेट कंटेंट का कारण बन सकता है। खासकर इमेज के साथ Shopify ब्लॉग पोस्ट शेड्यूलर में, ध्यान रखें कि ऑटो‑जनरेटेड छवियाँ ट्रेडमार्क या कस्टमर‑प्रोडक्ट डिज़ाइन की नकल न करें और लाइसेंस चेक हमेशा मौजूद हो। Trafficontent जैसे AI‑पावर्ड टूल Shopify ब्लॉग पोस्टों को SEO‑ऑप्टिमाइज़, इमेजेस जनरेट और शेड्यूल करने के काम को तेज़ कर देते हैं और Open Graph प्रीव्यू, FAQ स्कीमा व UTM सेटिंग्स भी देते हैं—फिर भी हर नई टेम्पलेट और इमेज सेट के लिए मानव समीक्षा ज़रूरी रखें ताकि टोन, तथ्य और ब्रांडिंग一致 रहें।
- Quick troubleshooting checklist: Run the Meta/OG debugger (Sharing Debugger) to refresh previews and spot Open Graph errors.
- Confirm image sizes and aspect ratios (common best practice: 1200×630 for OG) and check file formats and compression.
- Validate schema/FAQ with Google's Rich Results Test to prevent structured data warnings.
- Use Google Search Console for indexing errors, sitemap issues, and canonical tag conflicts.
- Check social share previews (X/Twitter, LinkedIn, Pinterest) and verify UTM parameters are intact.
गवर्नेंस के तौर पर तय करें: हर नए ऑटो‑टेम्पलेट व इमेज‑प्रॉम्प्ट के लिए एक कंटेंट ऑनर और कम‑से‑कम एक एडिटर अनुमोदन अनिवार्य हो; क्वार्टरली कंटेंट ऑडिट शेड्यूल रखें जिसमें डुप्लीकेट पोस्ट, आउटडेटेड लिंक और ट्रैफ़िक‑ड्रॉप चेक हो; और एक रोलबैक/रिविजन प्रोसेस डायरेक्ट लागू रखें। Trafficontent जैसी सर्विस के साथ, ब्रांड सेटिंग्स और प्रीव्यू टूल्स का इस्तेमाल करके ऑटो‑पब्लिशिंग की निगरानी करना आसान रहता है—लेकिन अंतिम जिम्मेदारी मानव टीम की ही बनी रहे।